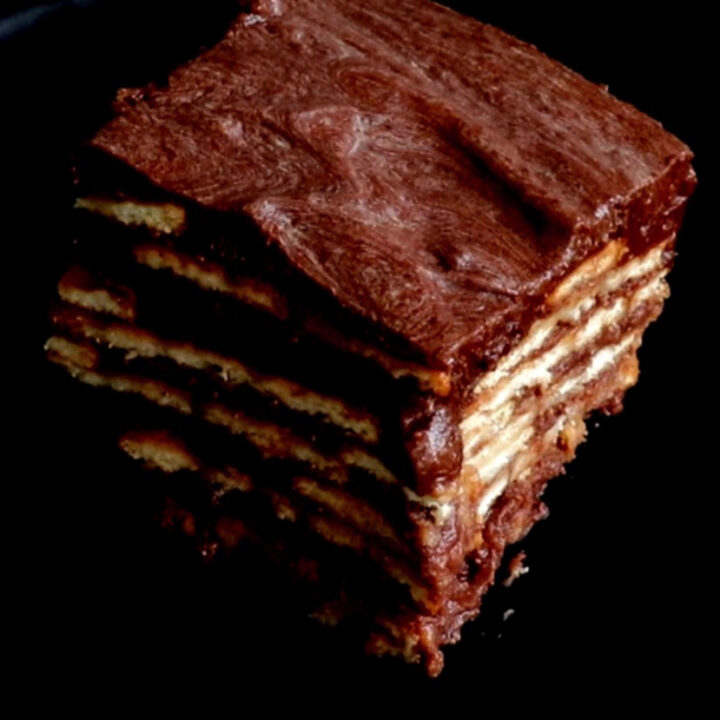
Marie biscuit pudding.
An easy, no-bake biscuit pudding recipe you can make with a few ingredients. Here’s how you whip up your favourite childhood dessert, the sugary sweet chocolate Marie biscuit pudding, which we all remember indulging in.
- Chocolate biscuit pudding is made with just 4 steps.
- Making the chocolate buttercream icing.
- Soaking the Marie biscuit and layering it between the chocolate icing spread.
- Repeat and repeat until you come to the final layer.
- And the final layer of thick chocolate icing was then topped with cashew nuts(optional).
Yes, it’s that easy to make this biscuit pudding. If you’ve never made this chocolate-covered biscuit pudding dessert, then it’s time to give this simple no-bake pudding recipe a try.
It’s fail-proof and a crowd-pleaser.

why we love the Marie biscuit pudding.
Winning a heart and making your fellow Sri Lankan friend feel the love is simply a matter of making them a chocolate Marie biscuit pudding.
What makes this easy no-bake recipe so tempting to make.
Because…
- There’s no complicated cooking method involved; it’s not baked but simply refrigerated once assembled.
- Easy to find ingredients,
Yes, if you have butter, Marie biscuits, milk, cocoa powder, vanilla, and icing sugar, which you will notice are all baking pantry ingredients, you might already have. - Make the biscuit pudding once, and you can just mix the ingredients to feed a crowd easily by doubling the ingredients.

What you will need in the kitchen.
- A large bowl to sift sugar, cocoa powder.
- A large bowl to mix the buttercream icing.
- Hand held mixer to mix the buttercream icing.
- Spatula.
- A mesh strainer to sift icing sugar and cocoa powder.
- A small bowl to hold the milk.
- Medium-sized Pyrex dish or any type of deep dish that can hold three layers of biscuits and buttercream icing.
More easy desserts.
- Condensed milk caramel pudding.
- No-bake chocolate biscuit cake.
- Easy trifle recipe.
- Easy chocolate-Nutella pudding.
Storing– always keep the Marie biscuit pudding refrigerated. can be stored in the original Pyrex dish and covered with its lid, or use cling film or foil.
RECIPE DIFFICULTY-Easy
Ingredients for the Marie biscuit pudding
- To make the chocolate icing for the biscuit pudding.
- Icing sugar
- Cocoa powder
- Instant coffee
- Butter
- Pinch of salt
- Vanilla
- To layer the biscuit pudding.
- Packets of Marie biscuits.
- Chopped cashew nuts to be used as garnish(optional)
How to make Marie biscuit pudding
Step-by-step photo tutorial.
Have all your ingredients ready to make the biscuit pudding.
Making the chocolate icing for the pudding.
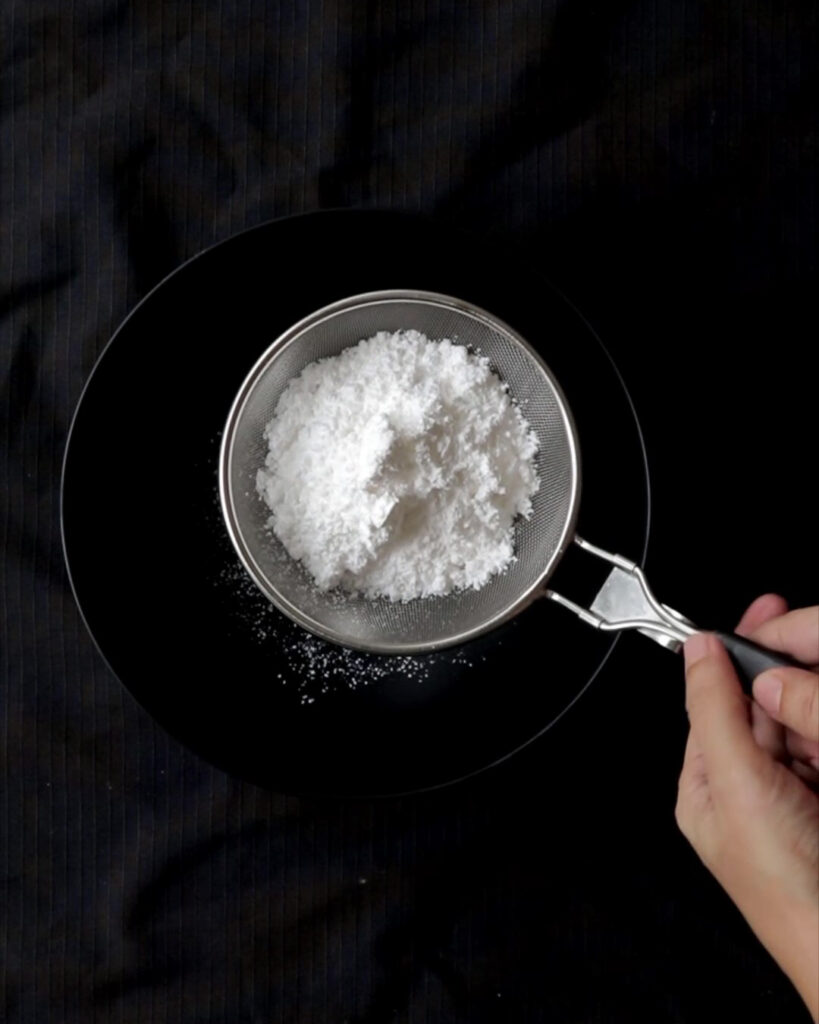
Sift the icing sugar into a large bowl.
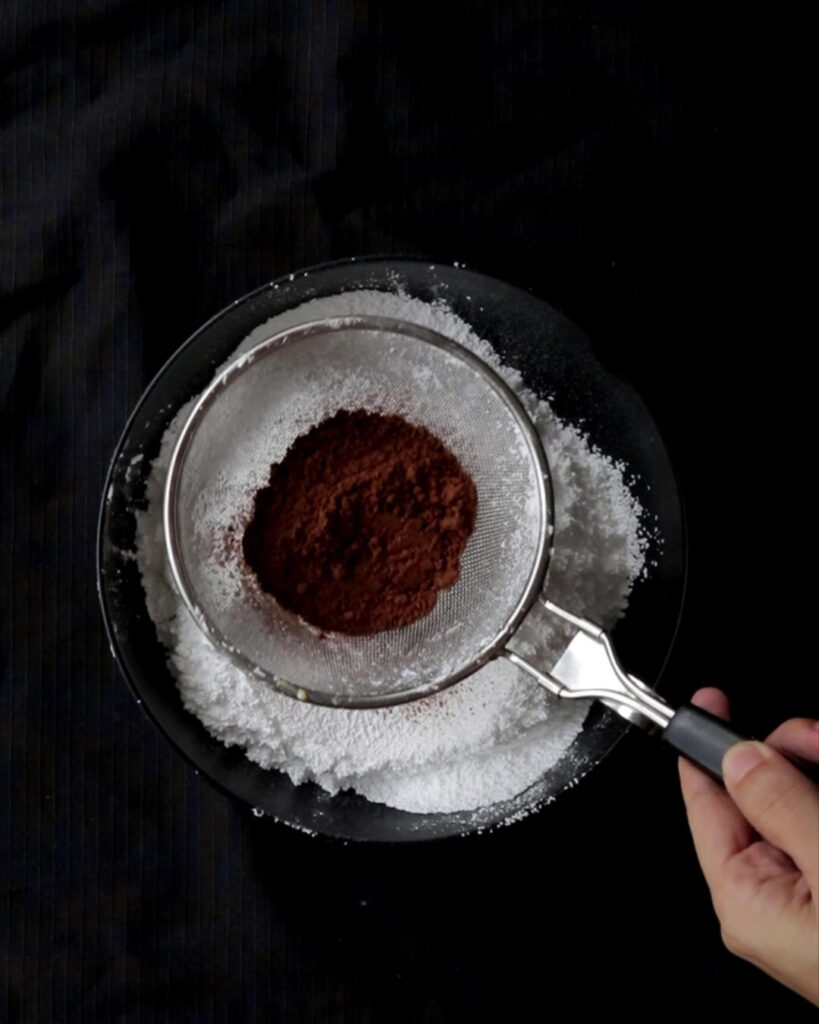
Followed by sifting cocoa powder and instant coffee(substitute with regular coffee) into the icing sugar.
Tap on the mesh to make the cocoa sift quicker. set aside.
In a separate large bowl, soften the butter with a spoon.

To the softened butter, add the sifted icing sugar with cocoa powder. Add a pinch of salt and vanilla.
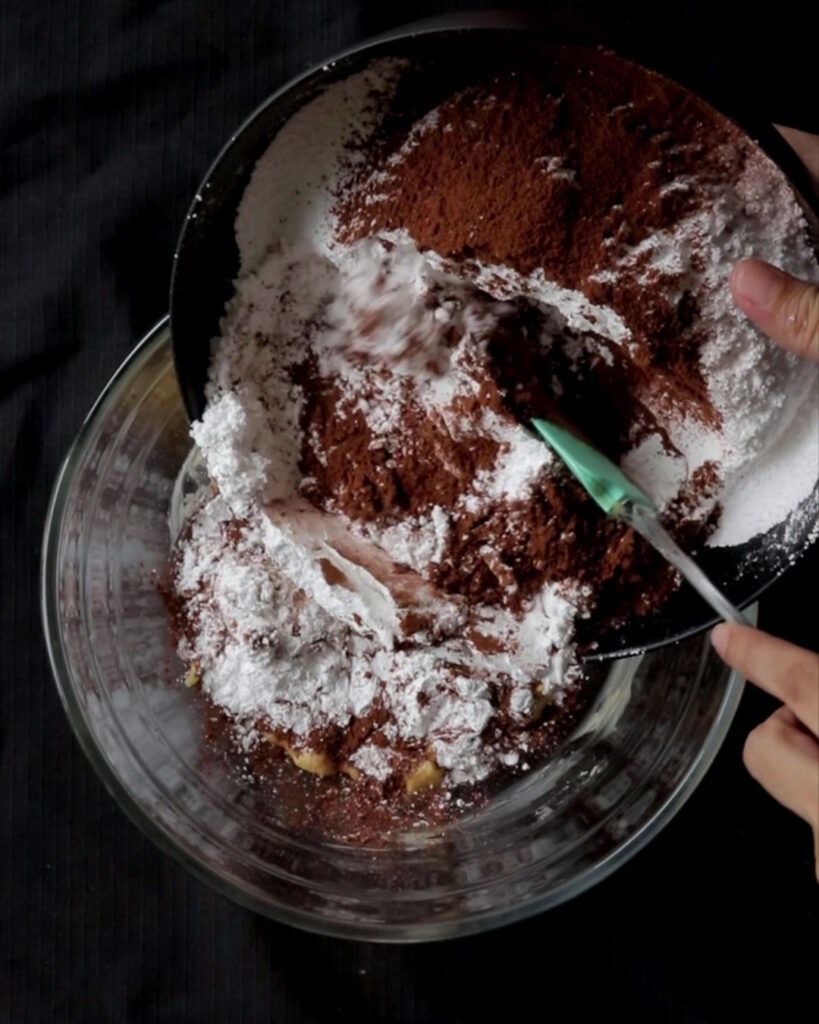
Use a spatula or a handheld mixer to mix the butter, icing sugar, cocoa powder, and coffee.
Combine until you have a smooth and creamy chocolate butter icing.
Mix until you have a smooth chocolate icing.
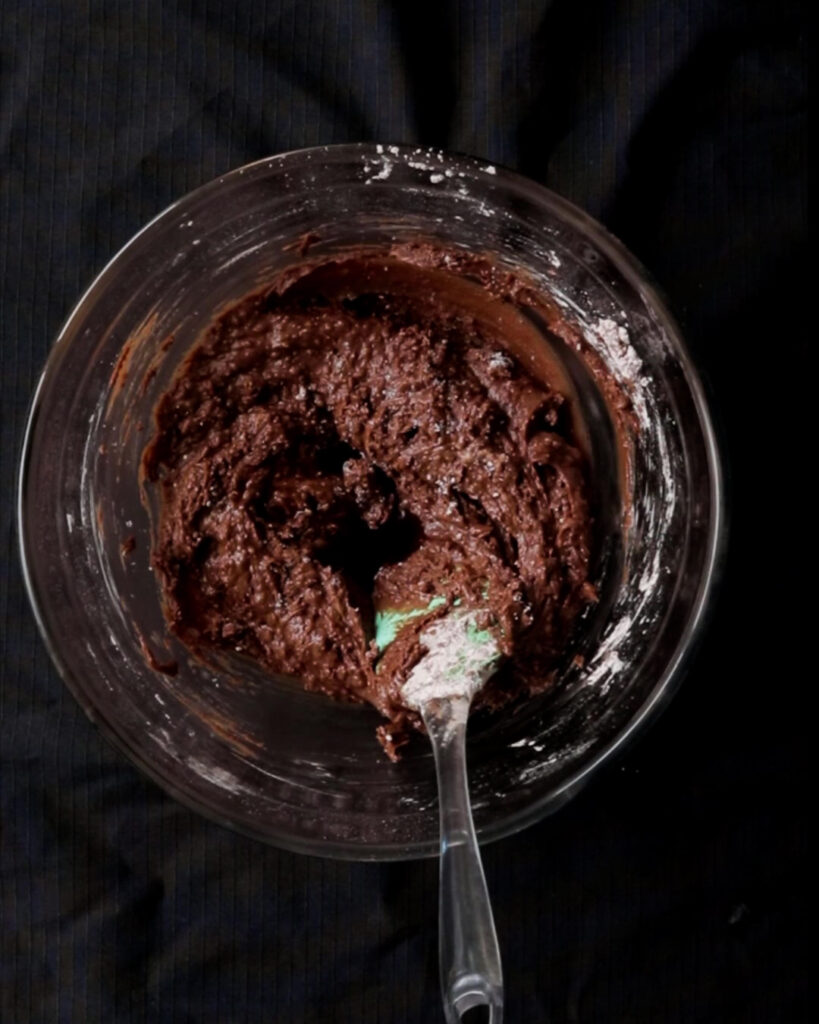
Once you have the chocolate icing done, it should be smooth and creamy.
Refrigerate the chocolate butter icing until you need it to layer the biscuit pudding.
How to assemble biscuit pudding.
Pour the milk into a bowl.
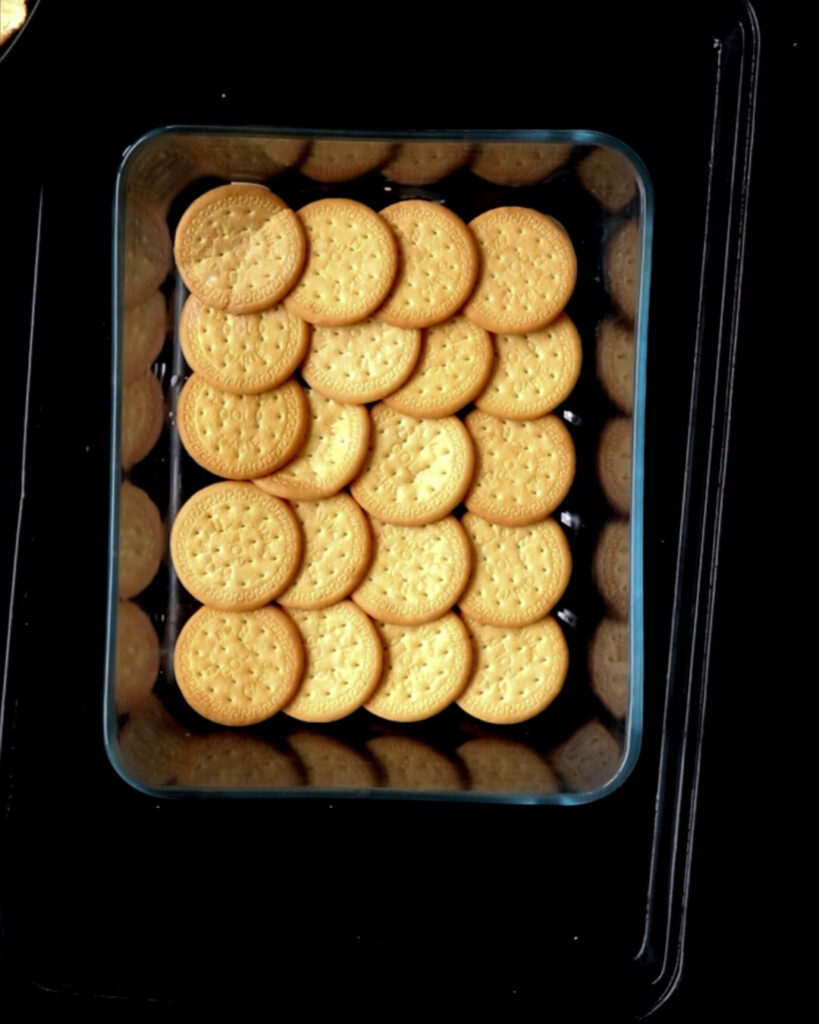
Prepare a medium-sized Pyrex dish ready to make the biscuit pudding.
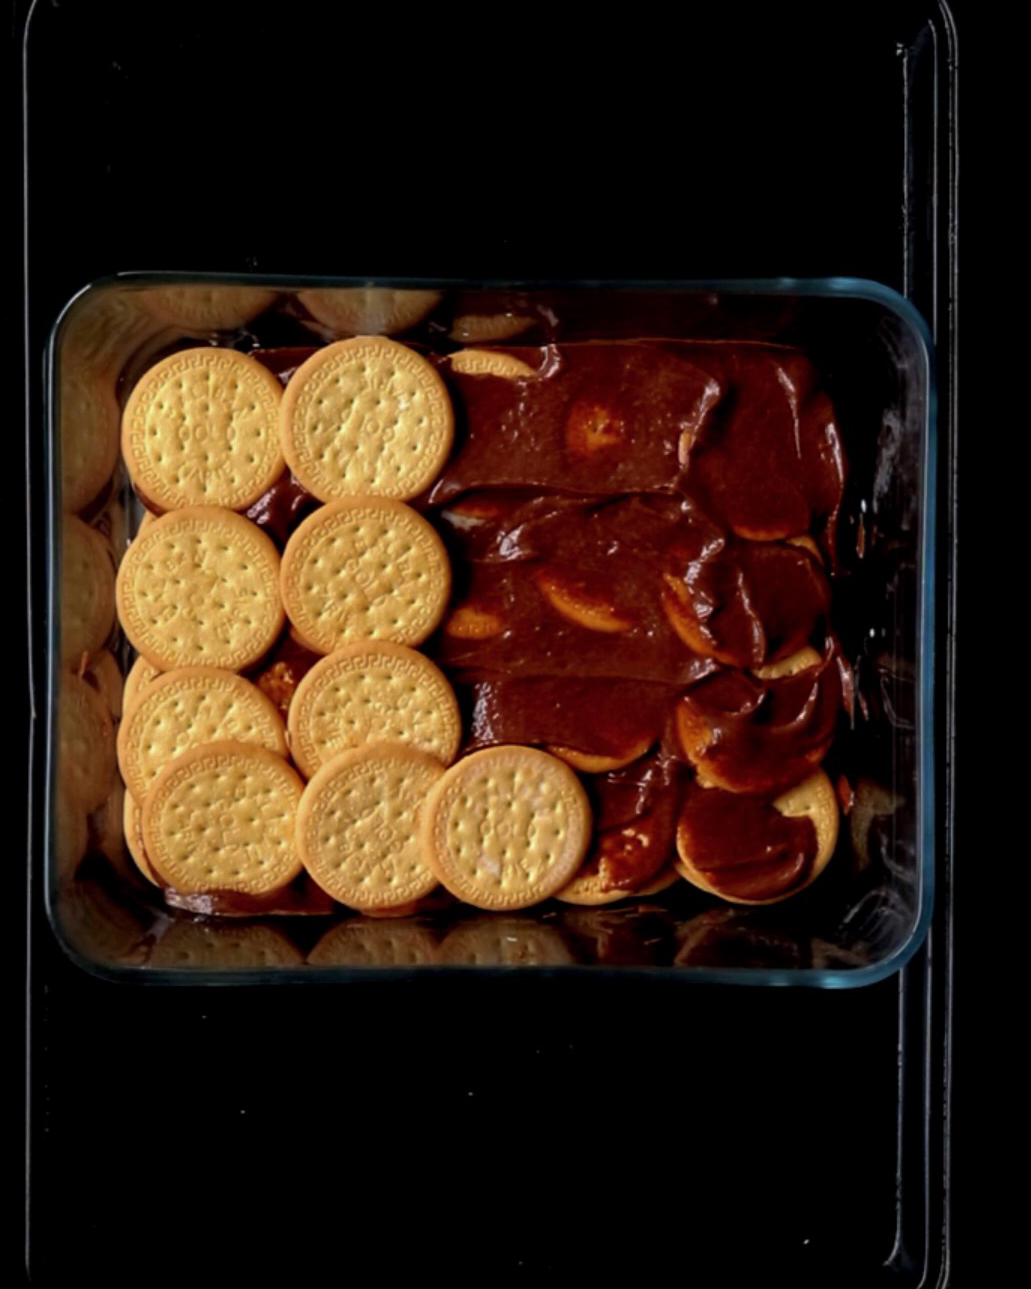
Soak the biscuit one at a time in milk. 3-5 seconds of dunking should do.
Lay the biscuits slightly overlapping each other.
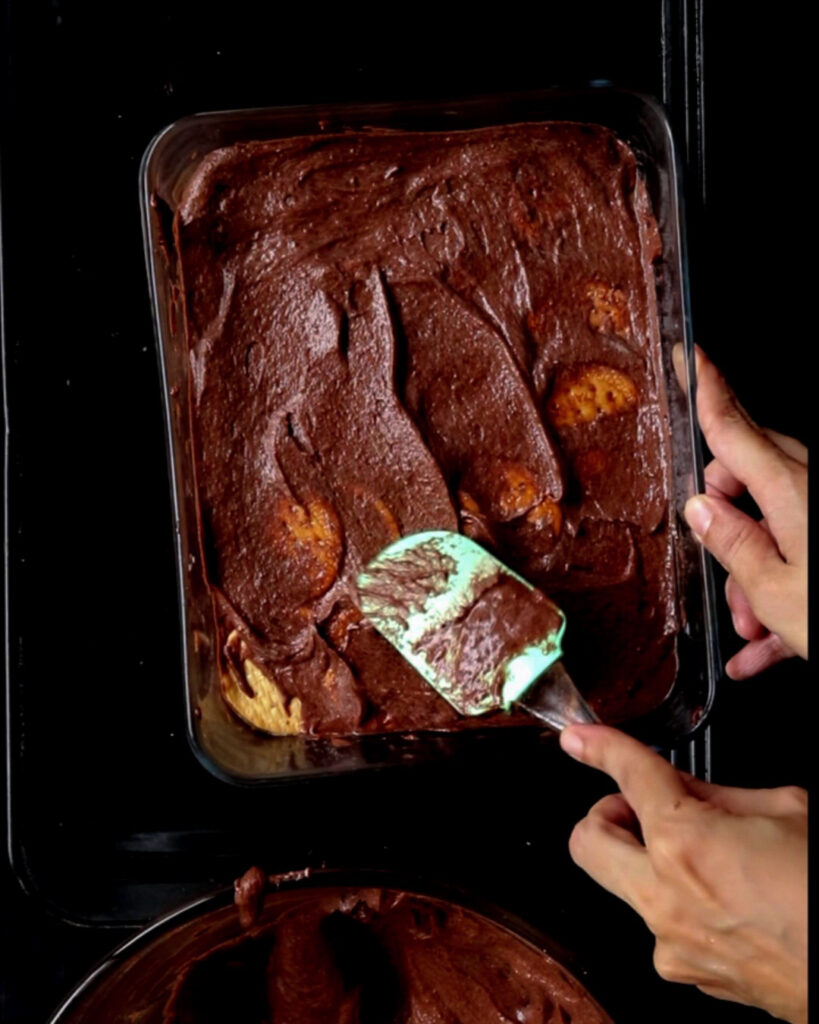
Add the 3-4 tablespoons of chocolate icing over the biscuit layer and spread evenly.
Be generous with this layer of icing.
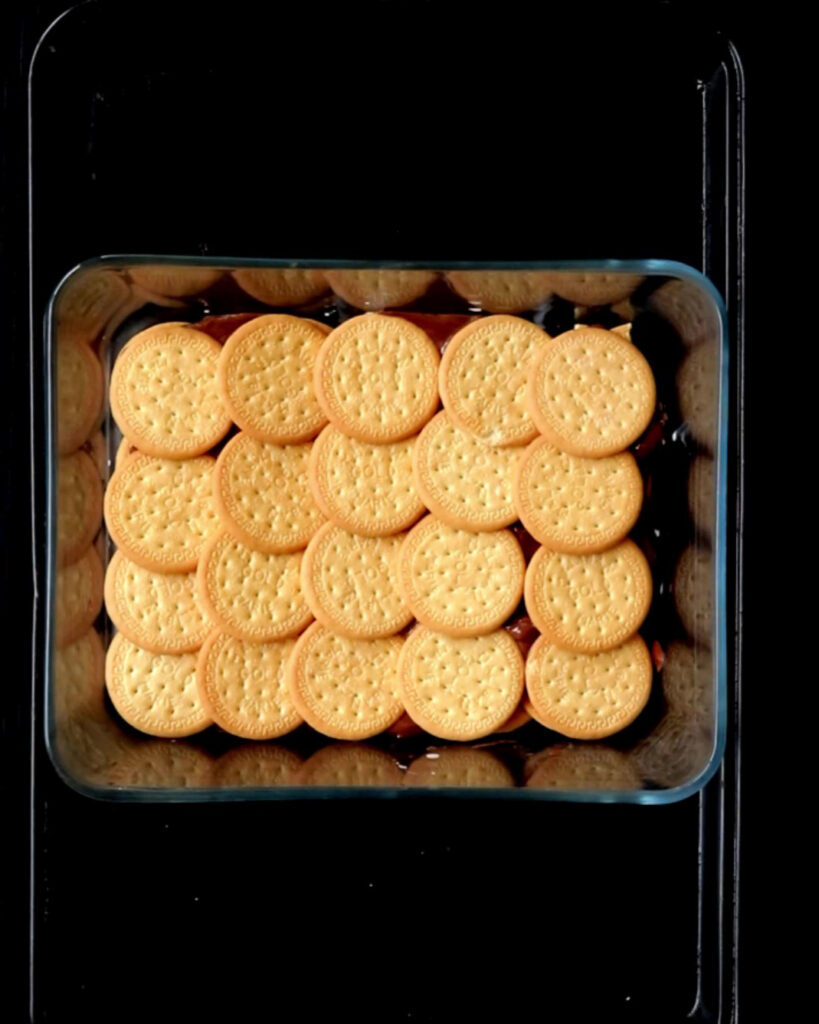
Once you’ve spread the icing, soak a few more Marie biscuits and add another layer.
This would be your second layer of biscuits.

Add another thinner layer of icing than the first layer, on top of the second biscuit layer.
Soak biscuits and lay the 3rd layer.
Repeat the layering until you finish up the icing and soaked biscuits.
The amount of chocolate icing you add between the layers is your preference.
You can make it thicker or thinner as per your need.
I like mine to have the bottom layer and the top layer thicker, while the middle layers thin.
This way, when I cut into the pudding, I taste the biscuits more than the icing.
Too much icing can be overwhelming and too sweet.
Continue adding the biscuit and chocolate icing layer.
You’ll probably have 4 layers of biscuit and icing.
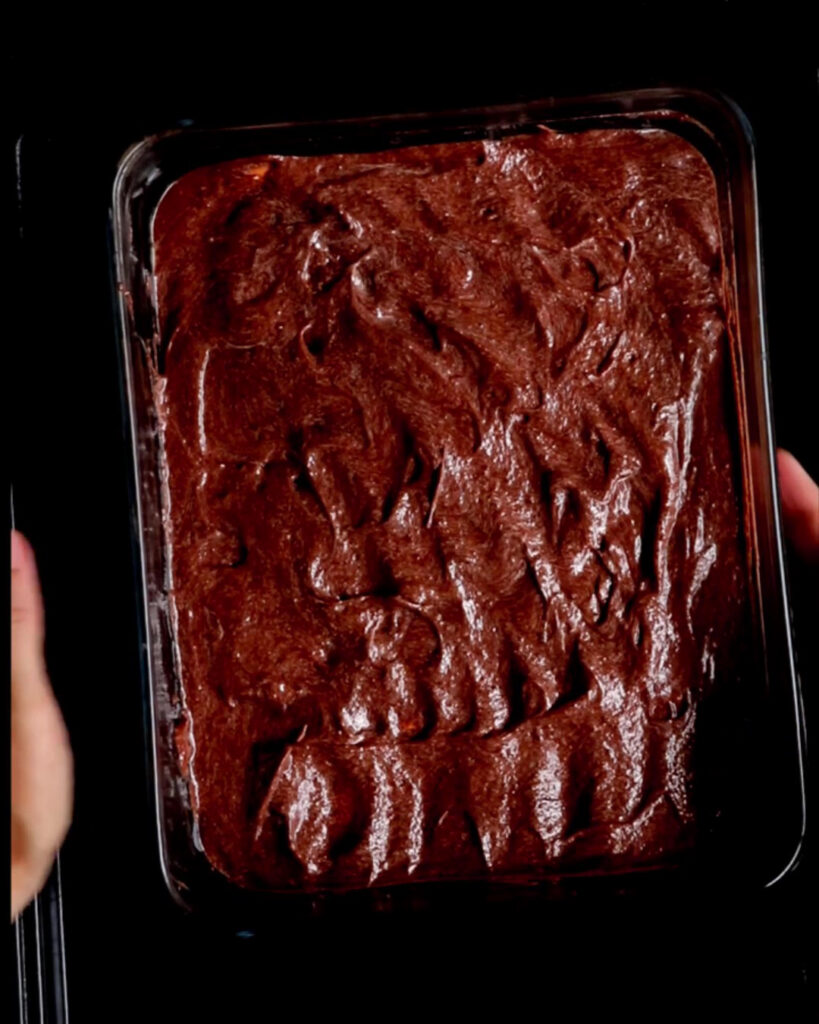
Then spread the last layer of chocolate icing. This layer should be thick.
Once you are done, refrigerate the chocolate biscuit pudding to set for 5-6 hours.
Once chilled, you can cut and serve them as individual pieces.
For best results, keep the Marie biscuit pudding refrigerated just until 15 minutes before serving time.

JOIN ME ON ISLANDSMILE YOUTUBE CHANNEL
VISIT THE SEAFOOD BLOG.
marie buiscuit chocolate pudding(no-bake).
An easy, no-bake biscuit pudding recipe you can make with a few ingredients. Here’s how you whip up your favourite childhood dessert, the sugary sweet chocolate Marie biscuit pudding, which we all remember indulging in.
Ingredients
- Ingredients mentioned below use standard measuring cups and spoons.
- 3 and 1/2 cup of icing sugar(I needed only 3 cups but to those of you who like a thicker layer of chocolate icing you can use extra 1/2 cup)
- 4 tablespoon of cocoa powder
- 1 teaspoon of instant coffee or regular coffee granules
- 1 cup of butter(1/4 cup extra butter if using extra 1/2 sugar for extra icing)
- Pinch of salt
- 1 teaspoon of vanilla
- 1 and 1/2 cups of milk
- 80-90 Marie biscuits(buy a large 330g pack or 5-6 smaller 75g pack)
- 1/ cup of coarsely crushed cashews(optional)
Instructions
Have all your ingredients ready to make the biscuit pudding.
Making the chocolate icing for the pudding.
- Sift the icing sugar into a large bowl.
- Followed by sifting cocoa powder and instant coffee(substitute with regular coffee) into the icing sugar.
Tap on the mesh to make the cocoa sift quicker. set aside. - In a separate large bowl, soften the butter with a spoon.
- To the softened butter, add the sifted icing sugar with cocoa powder. Add a pinch of salt and vanilla.
- Use a spatula or a handheld mixer to mix the butter, icing sugar, cocoa powder, and coffee.
- Combine until you have a smooth and creamy chocolate butter icing.
Mix until you have a smooth chocolate icing. - Once you have the chocolate icing done, it should be smooth and creamy.
- Refrigerate the chocolate butter icing until you need it to layer the biscuit pudding.
How to assemble biscuit pudding.
- Pour the milk into a bowl.
- Prepare a medium-sized Pyrex dish ready to make the biscuit pudding. Soak the biscuit one at a time in milk. 3-5 seconds of dunking should do.
- Lay the biscuits slightly overlapping each other.

- Add the 3-4 tablespoons of chocolate icing over the biscuit layer and spread evenly. Be generous with this layer of icing.
- Once you’ve spread the icing, soak a few more Marie biscuits and add another layer. This would be your second layer of biscuits.
- Add another thinner layer of icing than the first layer, on top of the second biscuit layer.

- Soak biscuits and lay the 3rd layer.
Repeat the layering until you finish up the icing and soaked biscuits.
The amount of chocolate icing you add between the layers is your preference.
You can make it thicker or thinner as per your need.
I like mine to have the bottom layer and the top layer thicker, while the middle layers thin.
This way, when I cut into the pudding, I taste the biscuits more than the icing.
Too much icing can be overwhelming and too sweet. - Continue adding the biscuit and chocolate icing layer.
You’ll probably have 4 layers of biscuit and icing.
Then spread the last layer of chocolate icing.
This layer should be thick.
Once you are done, refrigerate the chocolate biscuit pudding to set for 5-6 hours. - Once chilled, you can cut and serve them as individual pieces.
For best results, keep the Marie biscuit pudding refrigerated just until 15 minutes before serving time.
Recommended Products
As an Amazon Associate and member of other affiliate programs, I earn from qualifying purchases.
-
 Hudson Essentials Stainless Steel Measuring Cups Set - 6 Piece Stackable Set with Spout
 -
 Spring Chef Magnetic Measuring Spoons Set, Dual Sided, Stainless Steel, Fits in Spice Jars, Black, Set of 8
 -
 Chef Knife PAUDIN N1 8 inch Kitchen Knife, German High Carbon Stainless Steel Sharp Knife, Professional Meat Knife with Ergonomic Handle and Gift Box for Family & Restaurant
 -
 Cuisinart AMB-9LP 9-Inch Chef's Classic Nonstick Bakeware Loaf Pan, Silver
 -
 8-Piece Deep Glass Baking Dish Set with Plastic lids,Rectangular Glass Bakeware Set with BPA Free Lids, Baking Pans for Lasagna, Leftovers, Cooking, Kitchen, Freezer-to-Oven and Dishwasher, Gray
 -
 Duralex LYS Mixing Bowl Set, 10 Piece, clear
 -
 Britannia Marie Gold Tea Time Biscuits Value Pack of 600g. (Stay Fresh Pack 4x150g for a total of 600 Grams)
Nutrition Information:
Yield: 5 Serving Size: 1Amount Per Serving: Calories: 631Total Fat: 50gSaturated Fat: 26gTrans Fat: 2gUnsaturated Fat: 21gCholesterol: 100mgSodium: 506mgCarbohydrates: 44gFiber: 1gSugar: 35gProtein: 6g
Nutritional information on islandsmile is provided as a courtesy. We cannot guarantee the accuracy of the nutritional information given for any recipe on the site. these figures should only be considered as estimates.
Each recipe on this blog has been written with great care and love to the best of my ability, with you in mind.
It’s free and on the blog for you to try anytime.
All I ask is that you do not save it on any apps, recipe boxes, or online groups, which will affect me as a food blogger and the growth of this blog.
I would appreciate it if you only share the link rather than the full recipe.
All images and text on this website are protected by copyright.
Divya
Wednesday 14th of September 2022
Amazing! Thanks so much for this easy- to-follow recipe. Don't think it'll survive 24 hrs in my fridge.
jehan
Thursday 15th of September 2022
You are most welcome. this one disappears too quickly at my place too. please rate the recipe if possible. Thank you. regards, J