By Jehan Yusoof | Updated September 24, 2026 | ★ 5.0 (3 reviews) |
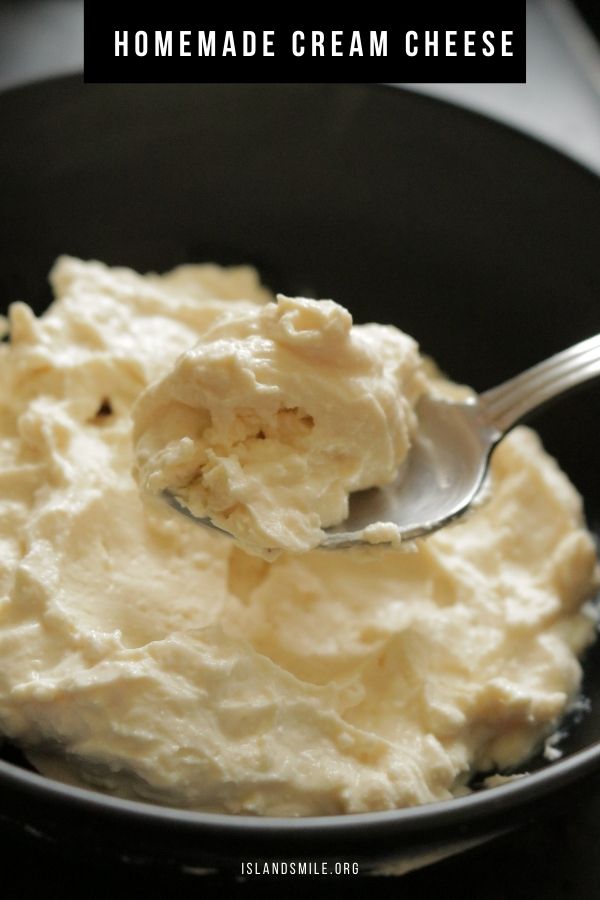
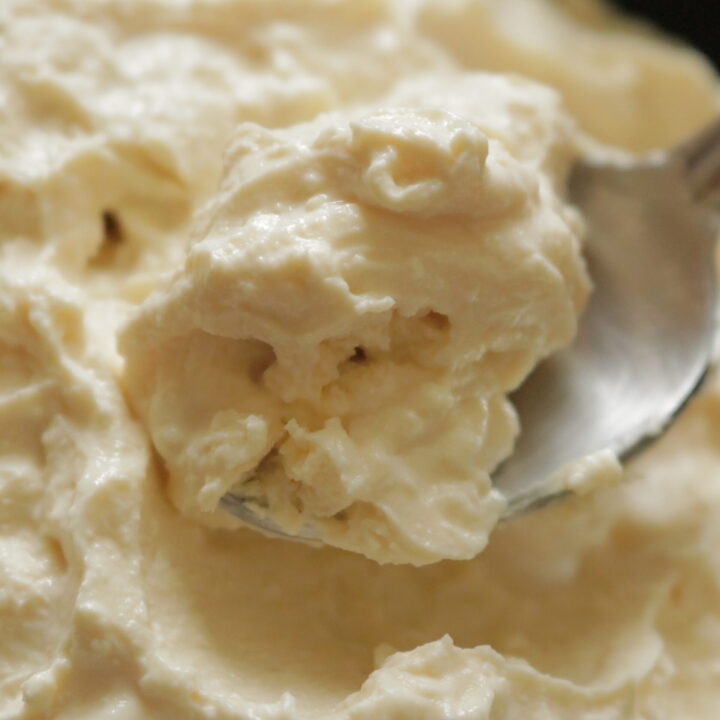
Homemade cream cheese made with just 3 ingredients.
Smooth and spreadable with a slight tang, this cream cheese needs only whole milk, lime or vinegar, and salt.
We’ve been making our cream cheese for some time now.
My kids love cream cheese on everything. Looking at the soaring prices of store-bought cream cheese, it’s just practical to make it at home, and the fresh taste makes it harder to go back to store-bought cheese.
★★★★★
If you try this, I’d love to know how it turned out. Just tap the stars in the recipe card; it helps other cooks find this recipe.
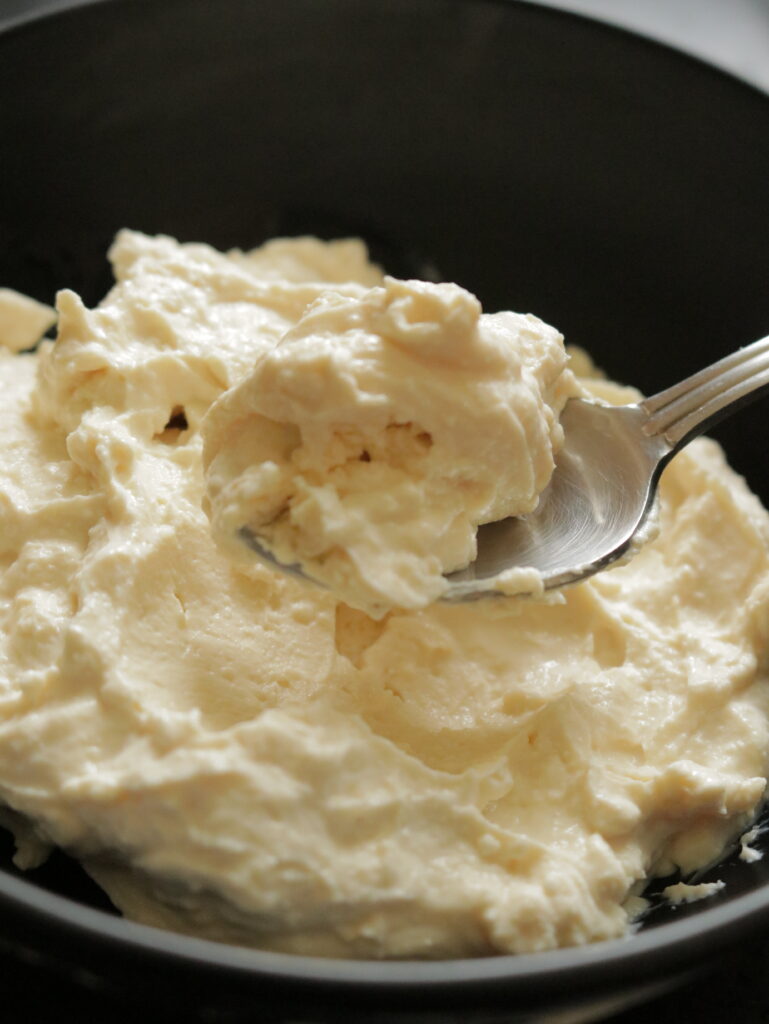
Homemade Vs store-bought cream cheese: what is the difference?
Honestly, the flavour is close. The differences are salt and texture, and with homemade cheese you control both.
Also, the store-bought cheese might include other ingredients that work as preservatives for a longer shelf life.
Why this recipe works
When natural acids like lime juice are added to hot milk, the milk proteins clump into curds and separate from the whey.
Straining removes the whey from the curd, and blending it while adding tablespoons of whey helps give us the perfect spreadable cream cheese consistency.
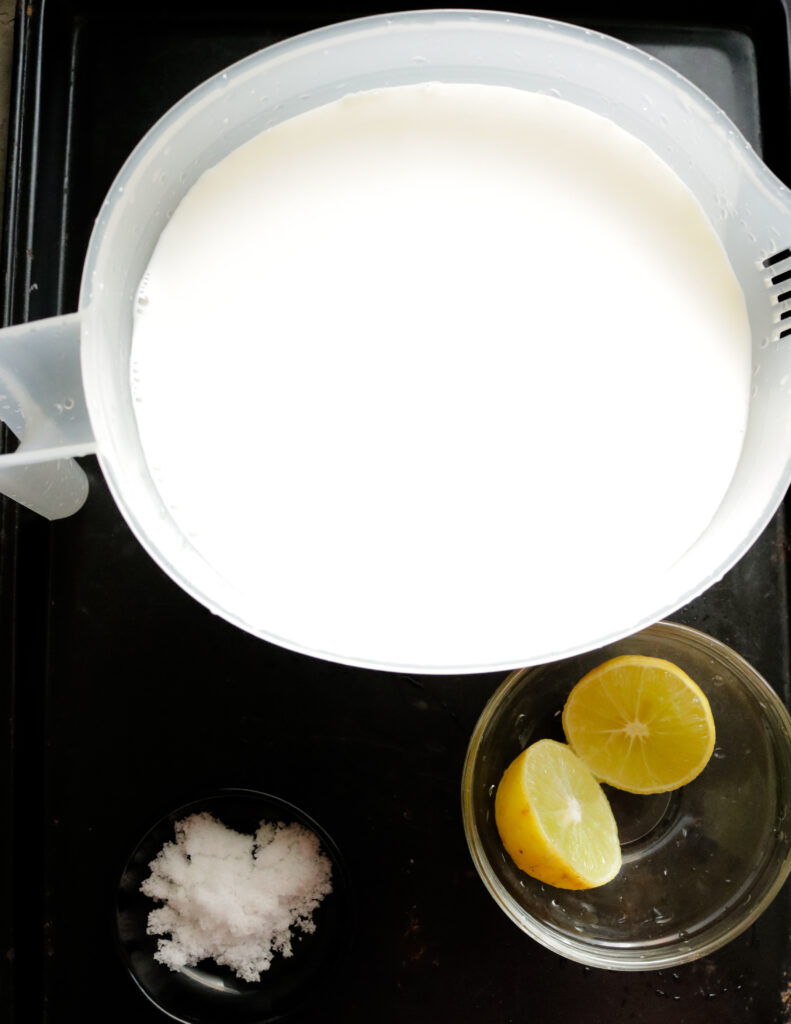
Ingredients to make cream cheese
- The ingredients mentioned below use standard measuring cups and spoons.
- Full-fat milk(also known as whole milk)
- Lime juice (substitute with lemon or white vinegar; make sure the vinegar has a strong smell)
- Salt
- Herbs and garlic are optional flavouring ingredients.
Tips to make non-grainy, smooth cream cheese
- Having all the prep work and ingredients ready will help make the making cheese process seamless.
- Use whole (full-fat) milk to make cheese; non-fat milk won’t work.
- Bring the milk to a high simmer, not to a rolling boil.
- The amount of salt you add can impact the taste of your cream cheese. Blend, taste, then add more.
- I used lime juice to curdle the milk; you can substitute it with lemon or vinegar.
- If you use vinegar, be careful with the quantity, as it affects the taste.
- Strong vinegar can leave a lingering smell on the cheese; use a mild white vinegar.
- Save the whey; you will need to blend the coarse cheese to a smooth spread.

What you will need in the kitchen
- A heavy-bottomed, medium-sized pan to heat the milk.
- A colander or large sieve to strain the milk curd.
- Cheesecloth (see the substitutes listed in the steps below in the recipe instructions below).
- A pan to collect the whey water
- Blender (use the smaller blender cup) or food processor
- Glass container to store the cheese
How to make cream cheese(step-by-step)
PHOTO TUTORIAL
Prep work to make the cheese
- Have the ingredients to make cream cheese ready.
- Have a dry empty bottle ready to store the cheese.
- Place the straining cheesecloth(substitute materials mentioned below)over a colander or large sieve.
- Place this over a pan to collect the whey liquid.
Use any clean fabric that lets the whey through but holds the curds. I’ve used a piece of stretchy fabric, and it worked well. Other options are white linen (handkerchief-type fabric, though a handkerchief itself is too small), a fine mesh bag, muslin, or a clean, new cotton dish towel. Make sure it’s big enough to cover the sieve and to gather up and squeeze comfortably
- Substituting cheesecloth,
- If you can’t find cheesecloth, use any clean fabric that lets the whey through but holds the curd. I tried a piece of stretchy fabric, and it worked well too.
- Make sure the material is large enough to cover the sieve or colander and then grip and squeeze out the whey comfortably.
- Other options are white linen (handkerchief material, not a handkerchief, as it will not be big enough), a fine mesh bag, muslin, a clean and new cotton dish towel or a tightly woven mesh strainer.
Add the milk into a heavy-bottomed pan and heat the milk over low-medium heat.
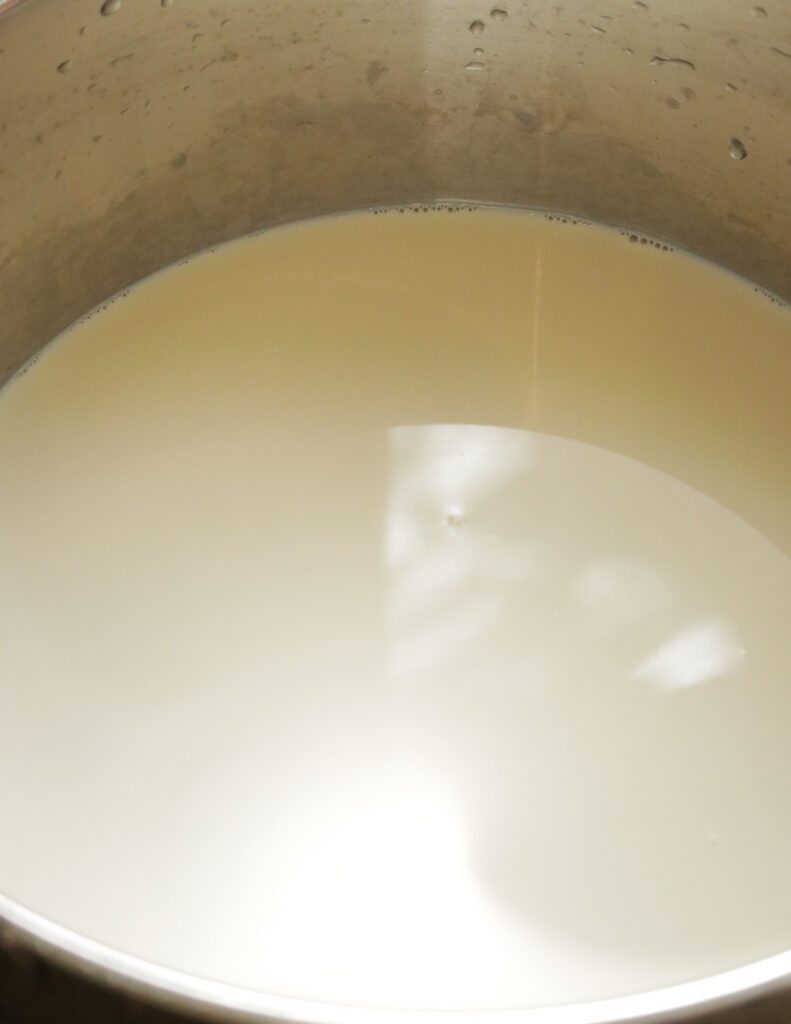
Frequently stir the milk and bring it to a high simmer(not to a rolling boil).
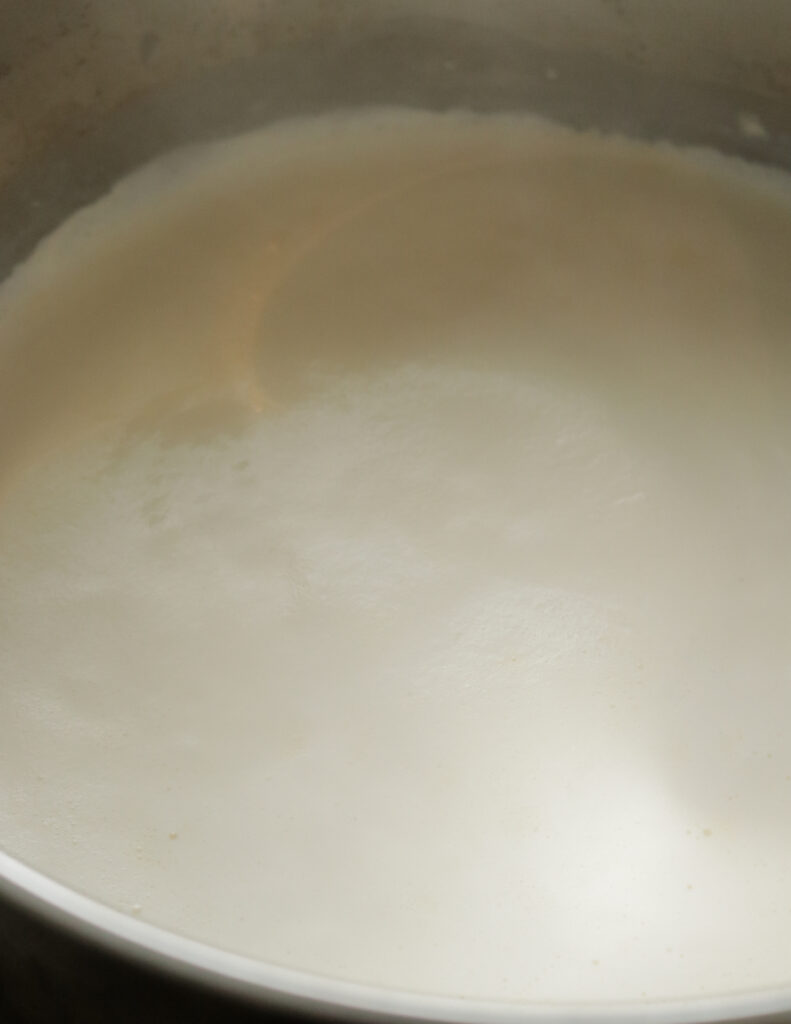
Reduce heat to low and pour in the lime juice.
Continue stirring.
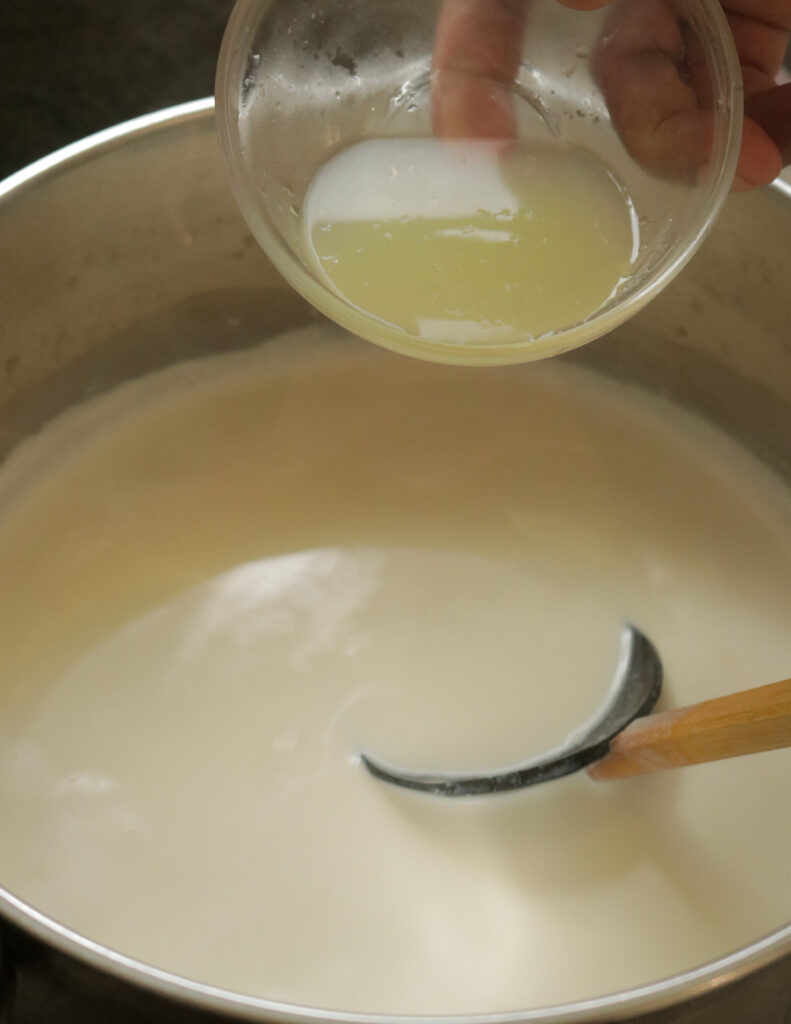
Stage 1 of curdling.
You’ll notice the milk curdling.
Reduce the heat to its lowest setting and stir gently.
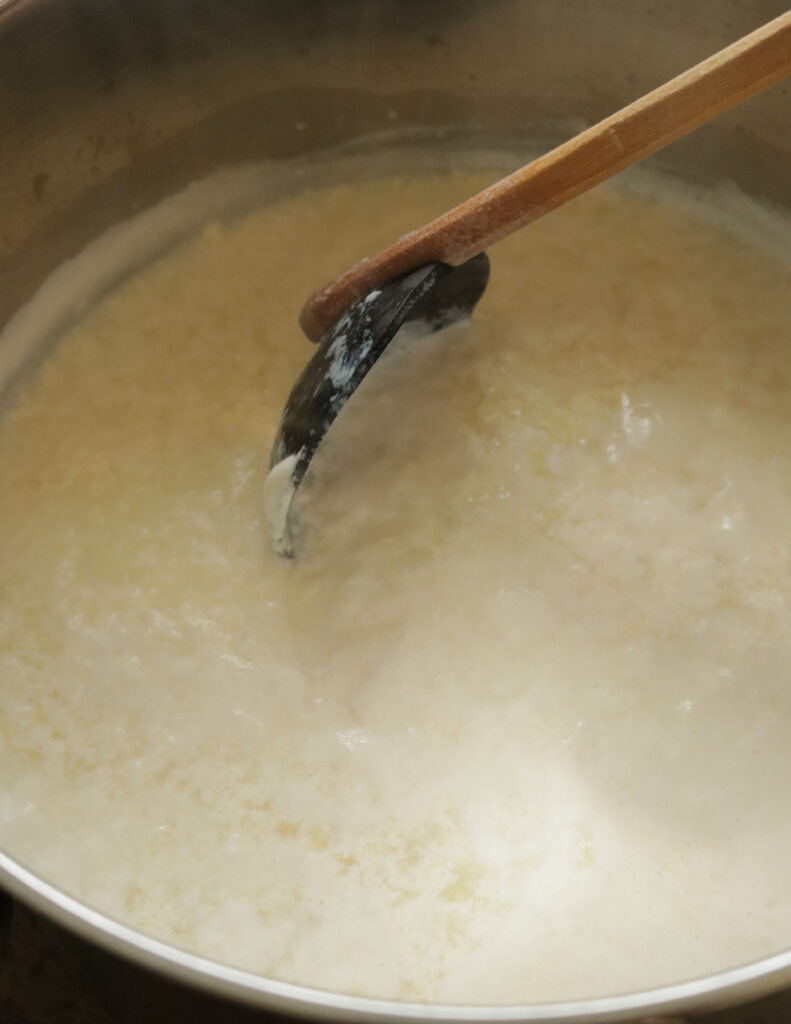
Stage 2 of curdling after a few seconds.
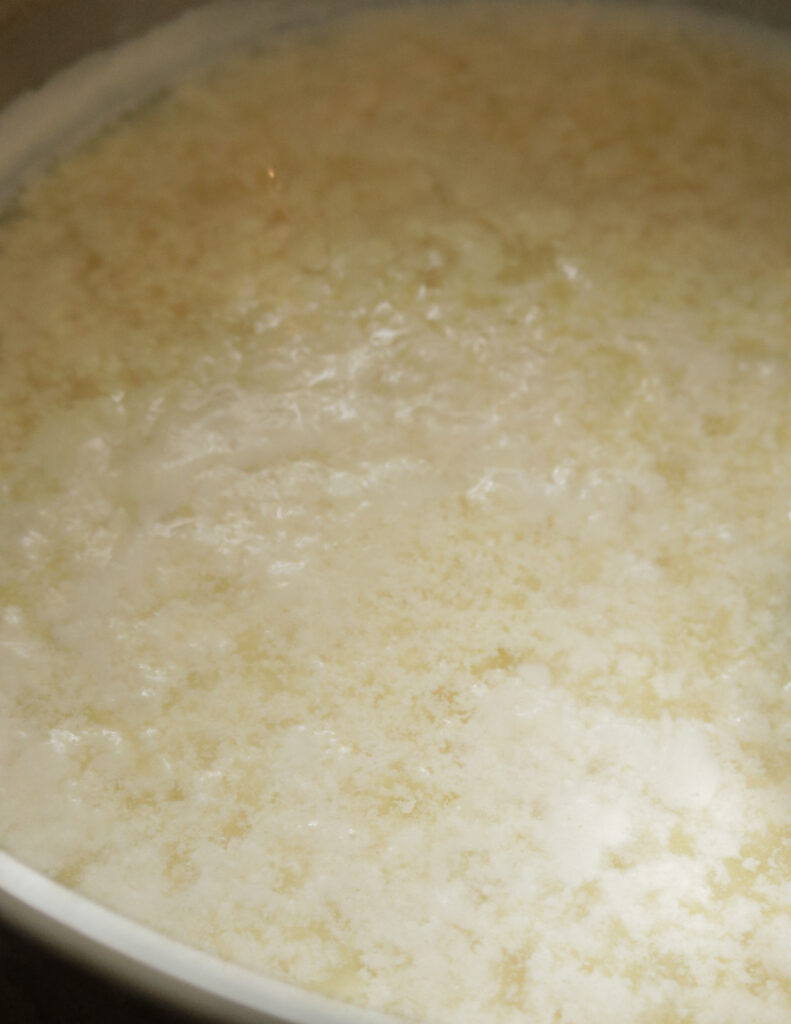
Stage 3 of curdling, where you will see the whey separating from the milk curd.
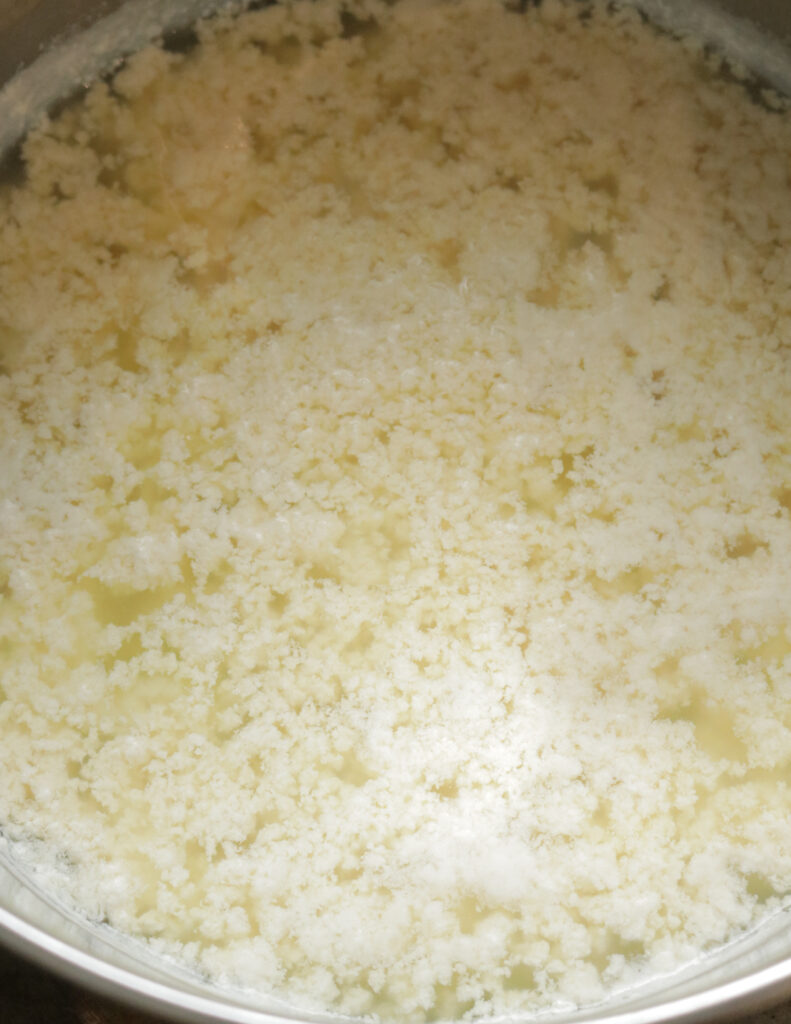
Remove the pan and pour the milk curd into the sieve.
Warning: the whey and curds are hot; pour gently to avoid splashing.
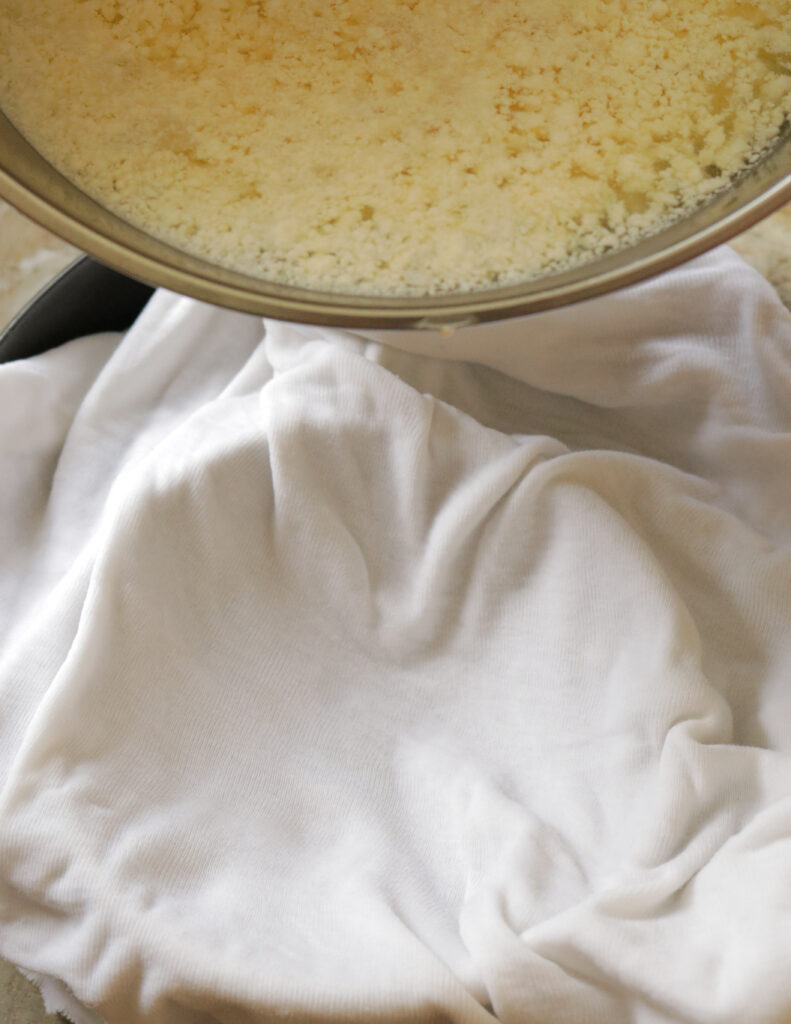
Gradually pour the milk curd onto the cheesecloth to strain.
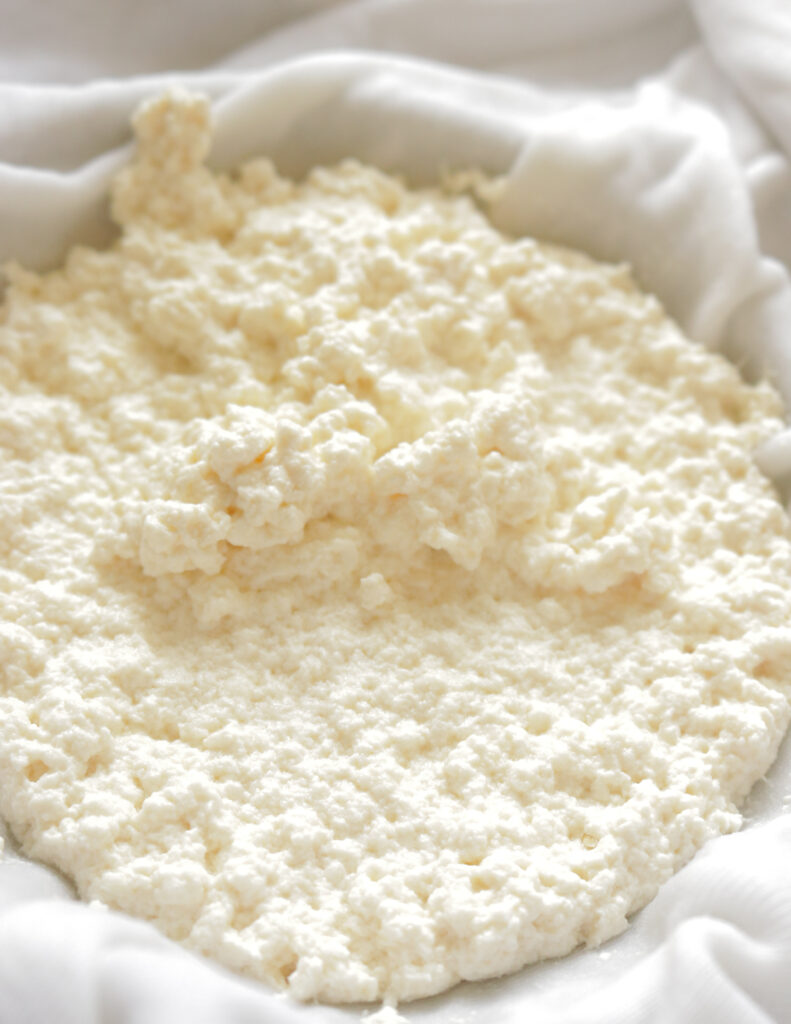
Cover with the edges of the straining cloth and let the curd rest for 5 minutes.
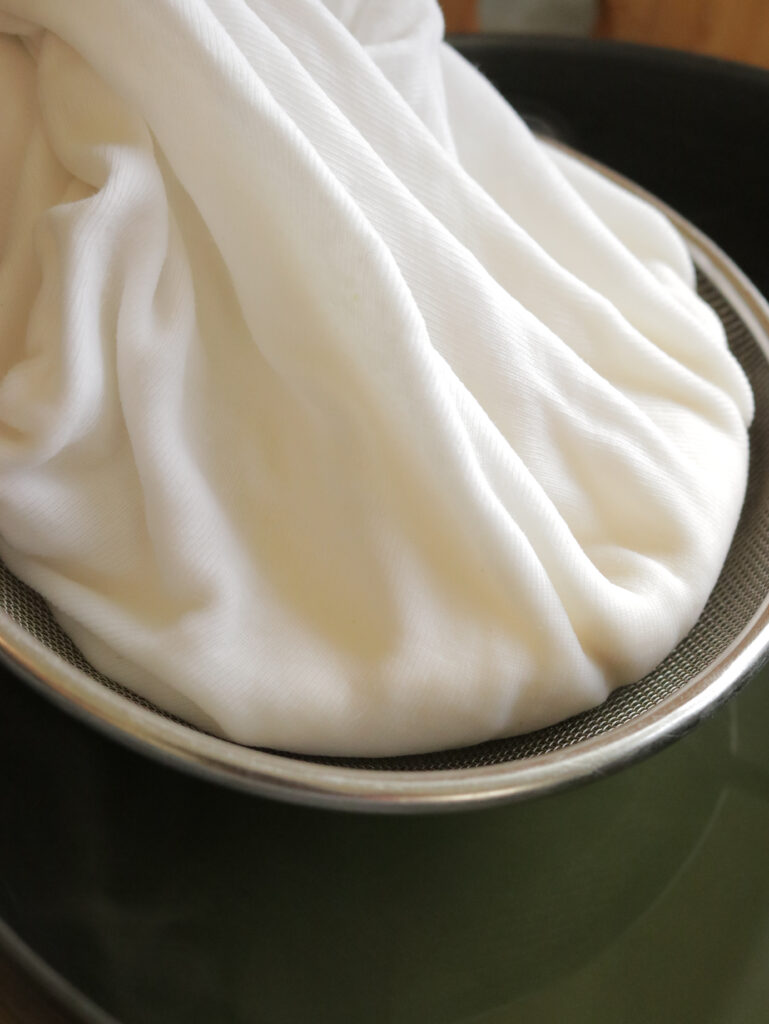
Gather the material and let the milk curd bundle hang over the pan.
DO NOT THROW AWAY THE WHEY WATER. Refer to the FAQ below on how to use leftover whey.
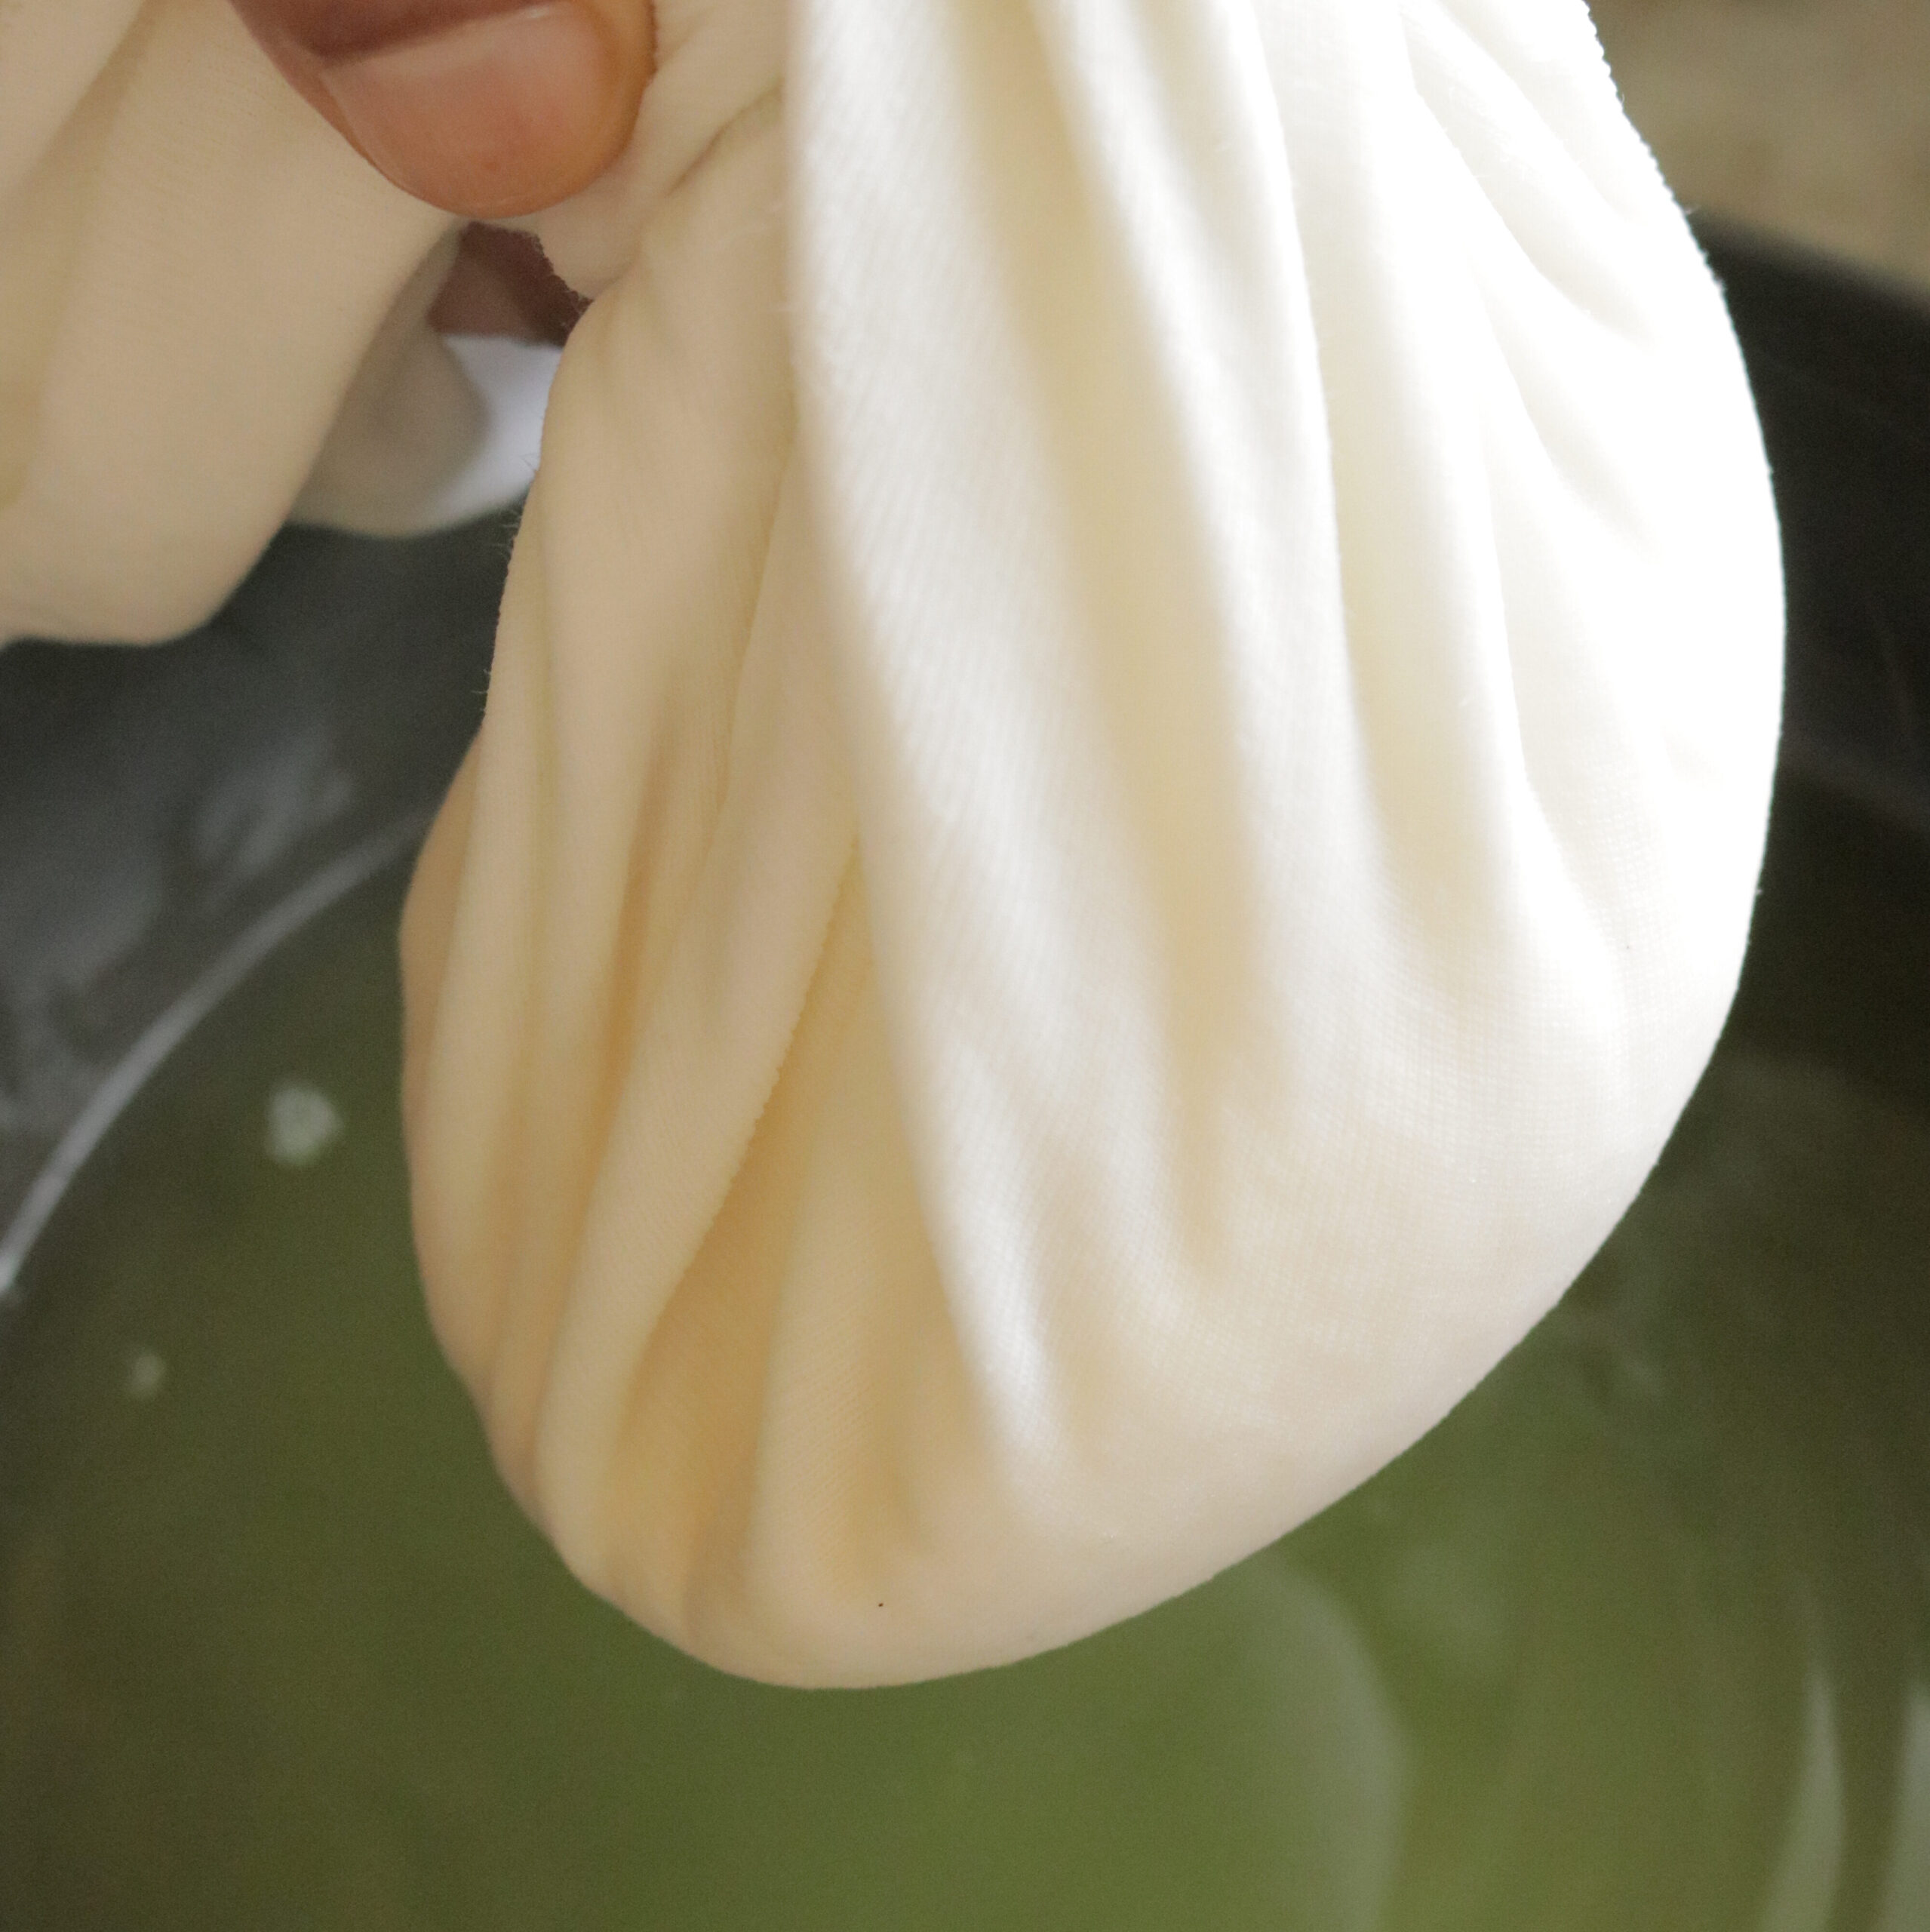
Twist and gently squeeze the excess whey water.
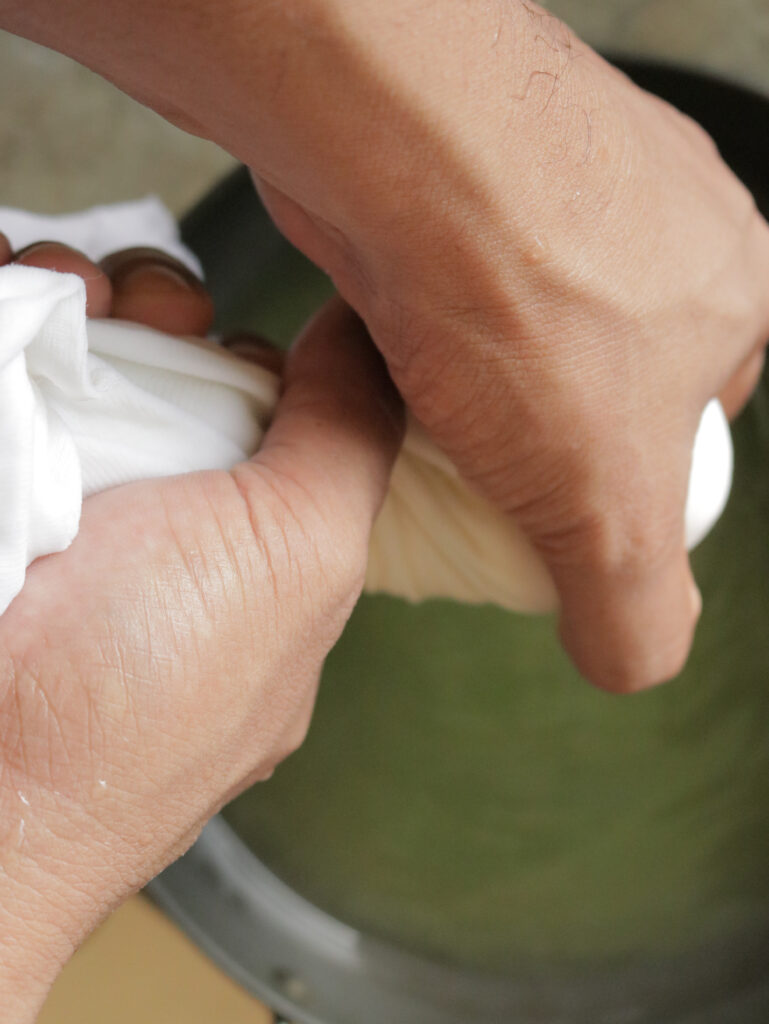
Place the bundle in a bowl and remove the cloth from the milk curd ball.
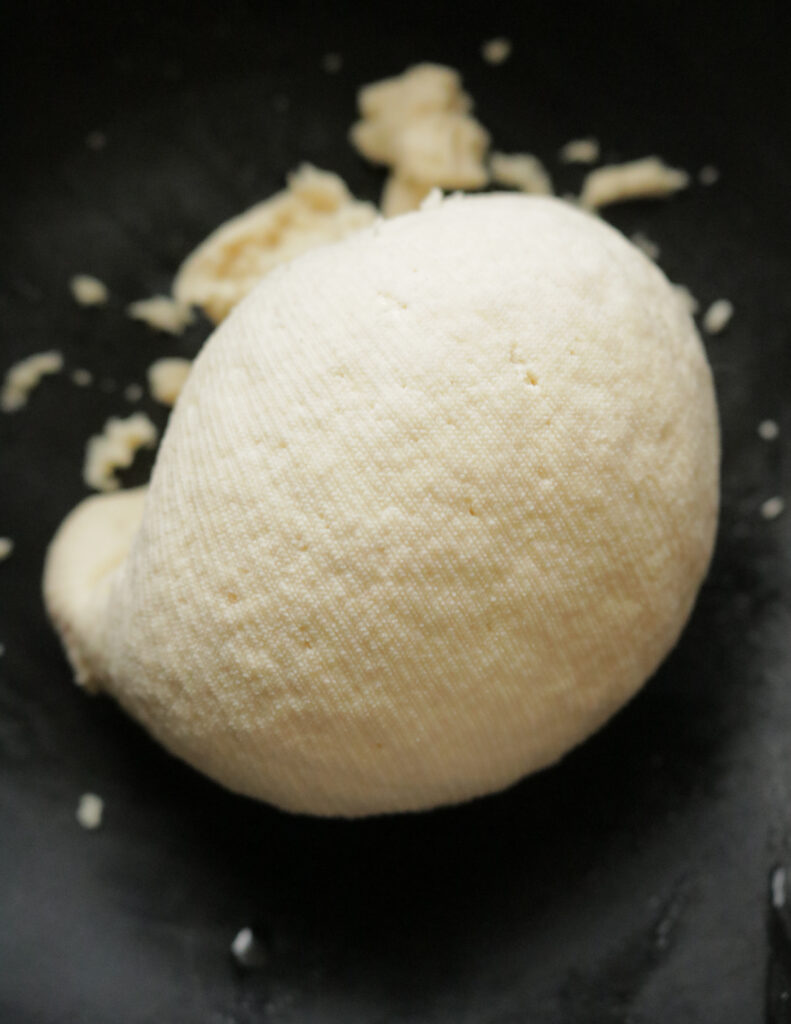
Crumble the curd with a spoon.
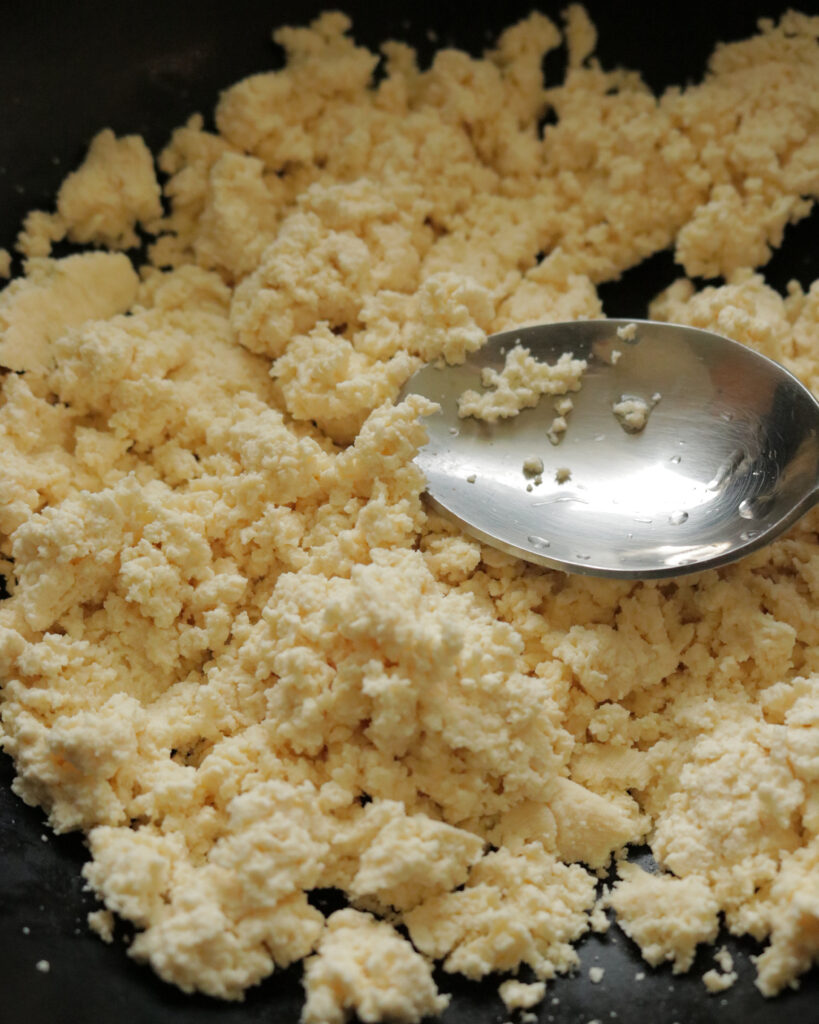
Add salt, starting with half a teaspoon and add more as you need.
For this batch, I added 1 teaspoon, which made the cheese a little too salty, so be careful with the salt.
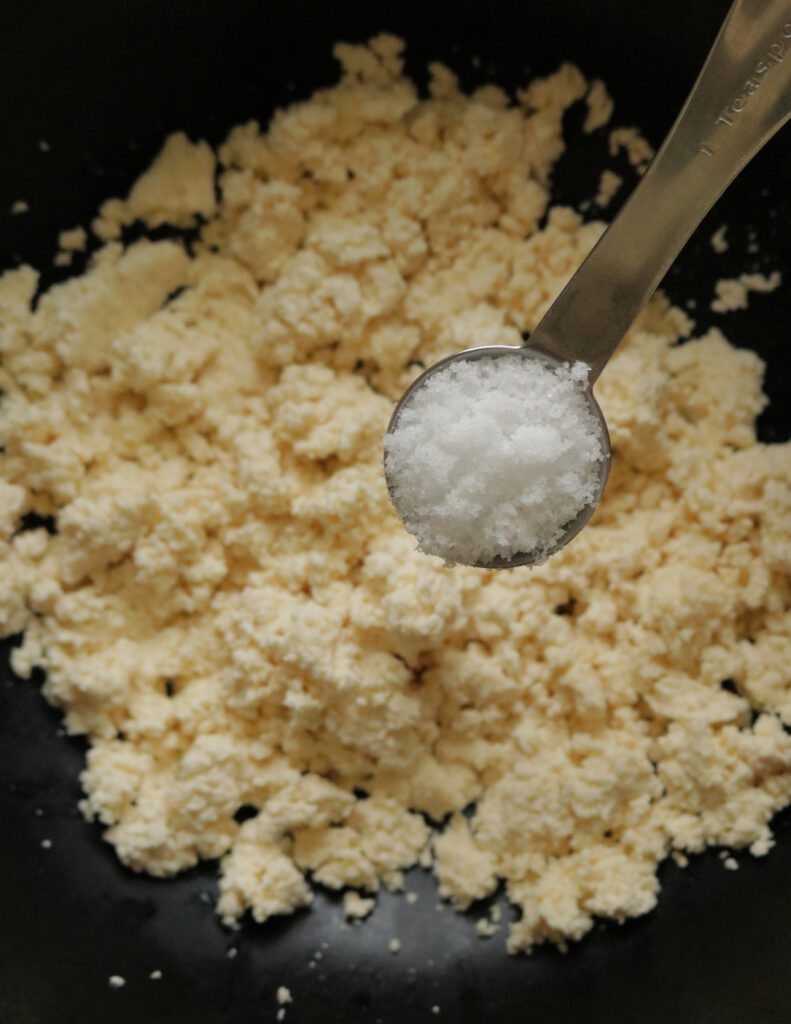
Transfer the curd to a food processor.
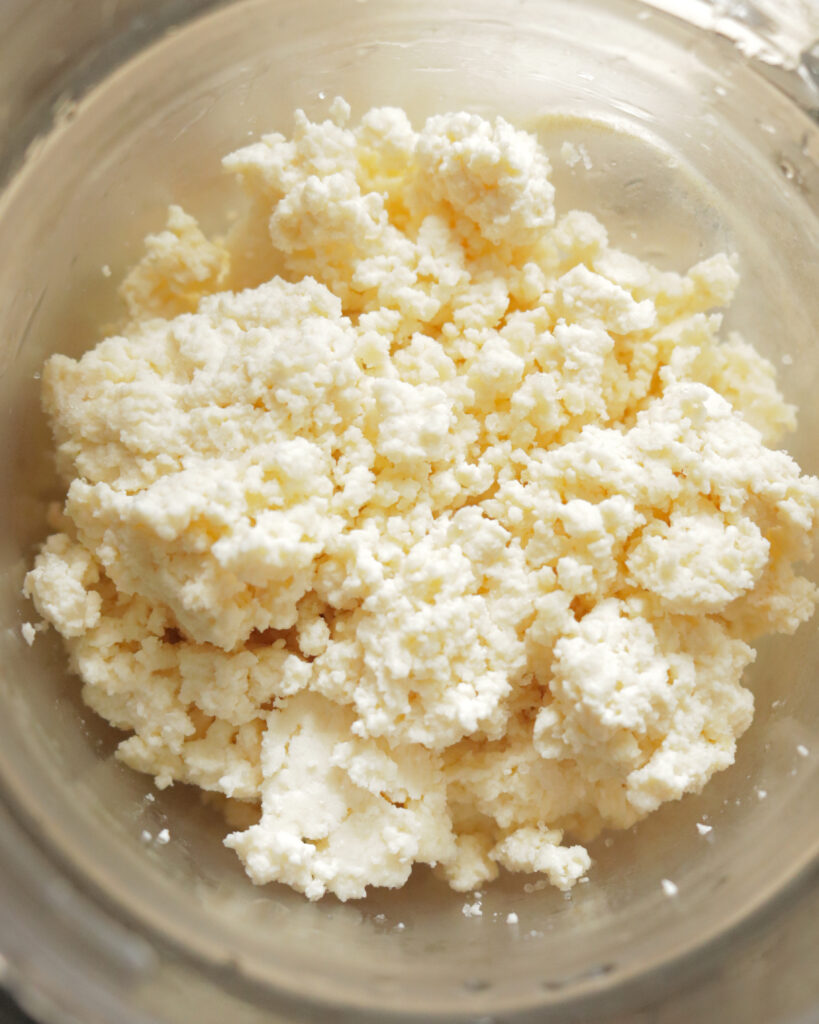
Add tablespoons of the whey water and pulse until the cheese is slightly smooth. At least a minute.
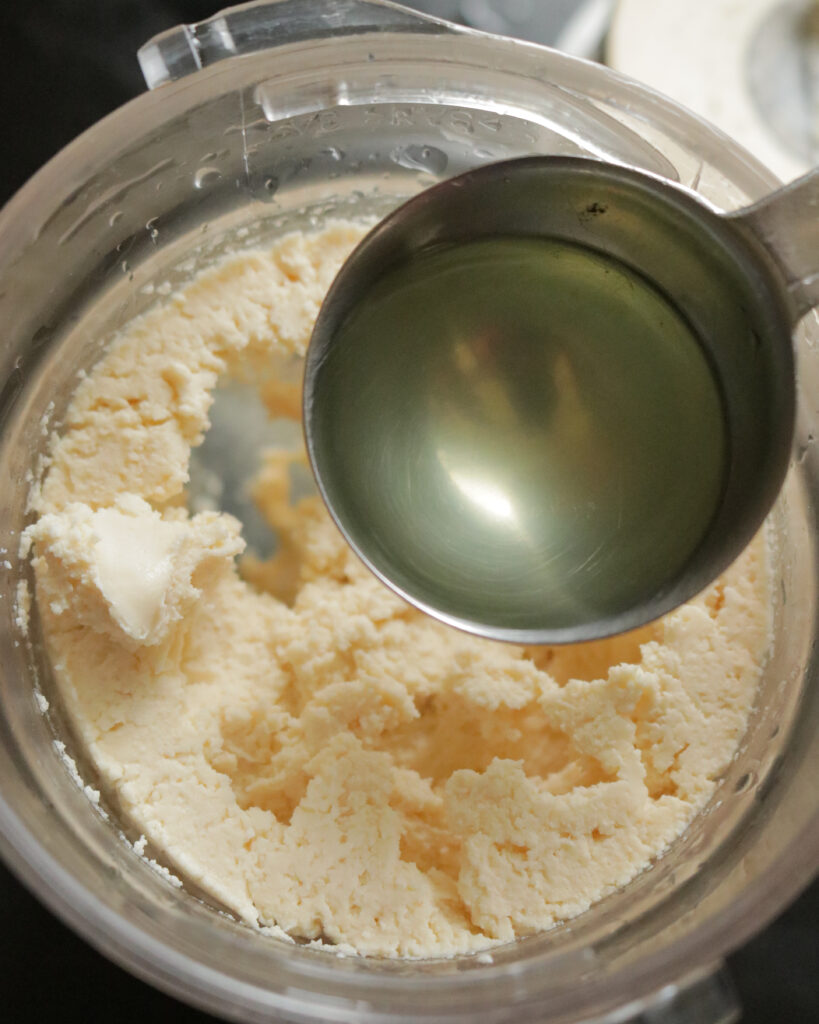
Stage 1:
After one minute, the cheese will still look grainy.
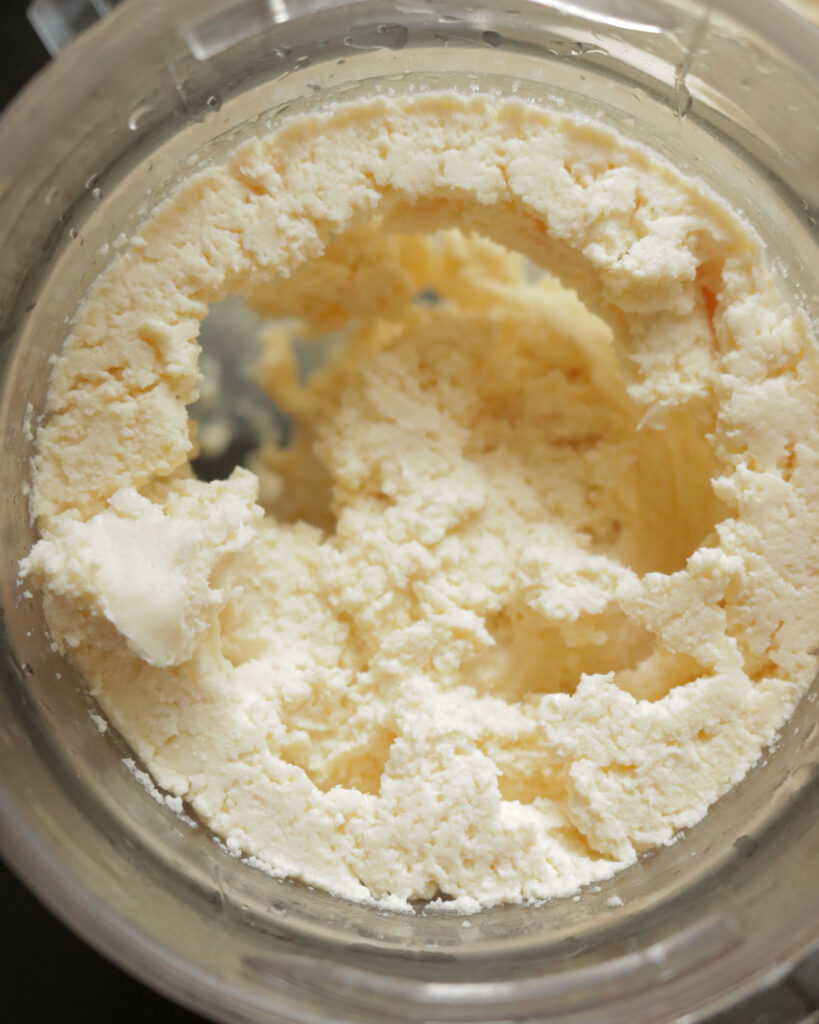
2nd Stage of the cheese texture.
Add 1 tablespoon of whey and blend for a minute.
Check the texture and taste of the cream cheese.
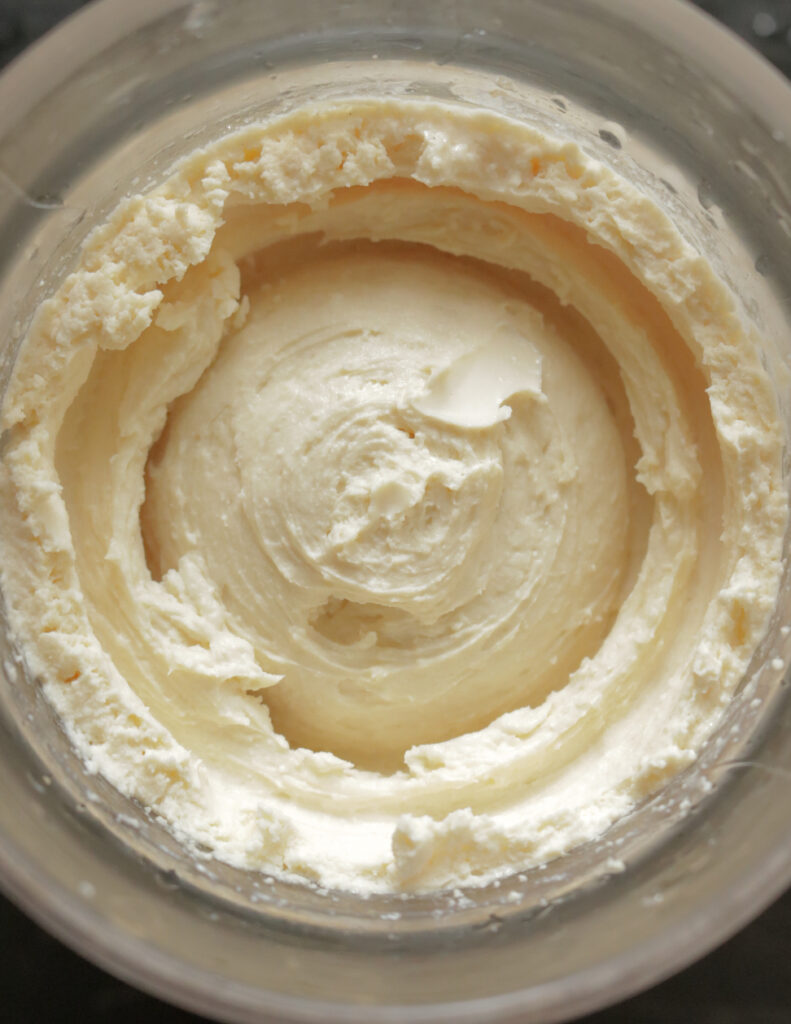
Continue to work on the cream cheese texture and taste by adding whey and salt to reach the correct creamy consistency.
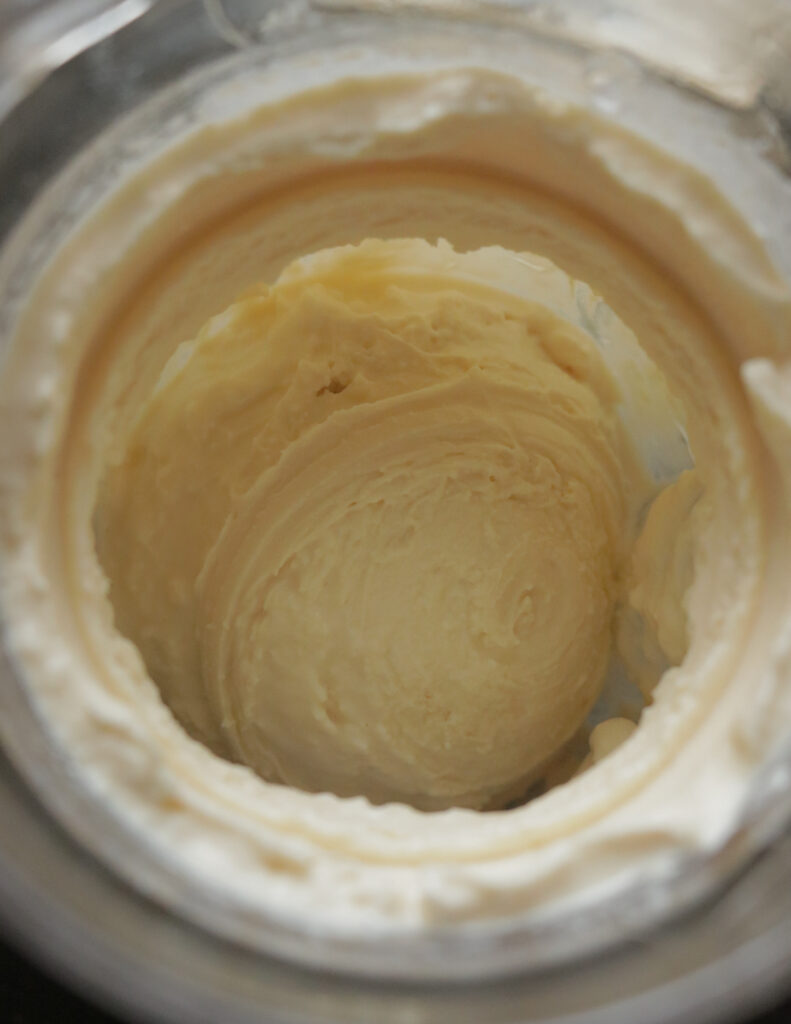
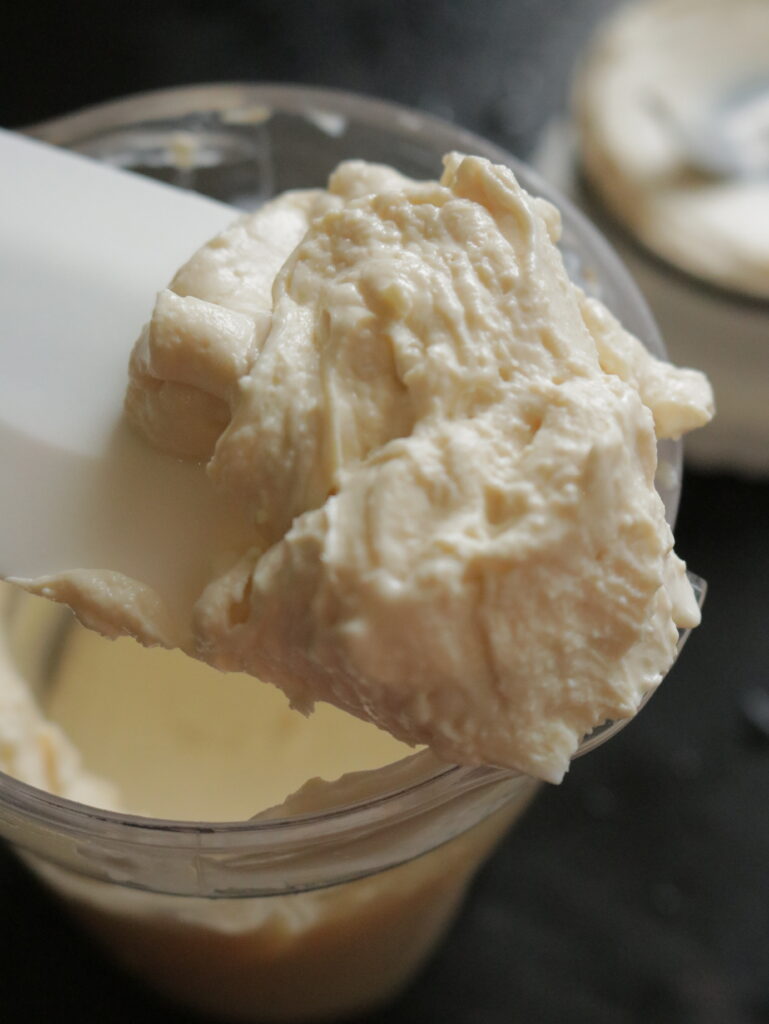
Once the cream cheese is done, store it in a glass container.
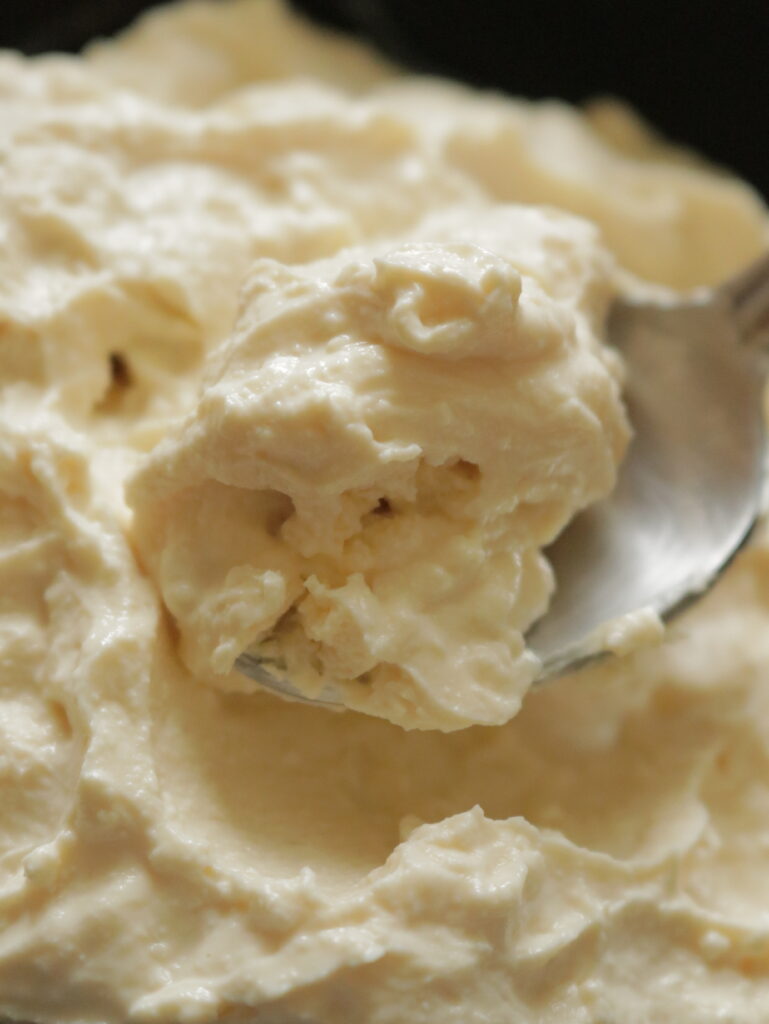
FAQ: homemade cream cheese
- How to store homemade cream cheese.
- Make sure the container you choose to store the cream cheese is completely dry. Once you fill the bottle with the cheese, close the lid tightly and refrigerate. Always use a dry spoon.
- How long will the cream cheese last?
- As there are no preservatives and you’ll probably be using pasteurised milk, I would recommend using the cream cheese within a week.
- How much cream cheese does 1 litre of milk make?
- About 1 cup.
- Lime, lemon or Vinegar: which is the best acid to use?
- Lime and lemon both work. I used fresh lime. If you use vinegar, choose a mild white vinegar, so it doesn’t leave a smell.
- Why didn’t my milk curdle?
- One of the following reasons.
- The milk wasn’t hot enough; bring it to a gentle simmer and stir.
- Needs more acid; add another teaspoon or two of lime juice.
- UHT (ultra-heat-treated) milk won’t curdle properly, so use regular pasteurised whole milk.
- One of the following reasons.
- Why is my cream cheese grainy?
- Usually this happens due to not blending enough; keep blending while adding whey, one teaspoon at a time.
- What to do with leftover extra whey?
- Use as a substitute for water when making rotis, bread, pancakes, cooking rice or even in curries.
How to use homemade cream cheese
- Slather over toasted bread, bagels and buns, and top it off with an egg omelette or scrambled eggs to make a quick breakfast.
- When making pasta, you can add creaminess to the pasta dish by mixing in cream cheese.
- Whip up your cream cheese and make some easy dips.
- Add a layer of cream cheese to your sandwiches.
More Homemade Pantry basic recipes
Ginger garlic paste recipe (5 steps)
How to make pickled garlic (DIY recipe)
Sri Lankan three spice-raw/unroasted curry powder(thuna-paha)
How to make ground cumin powder
How to make coriander powder and how to use it
Watch more Sri Lankan recipes on my YouTube channel
Homemade cream cheese from milk (3 ingredients)
Homemade cream cheese made with just 3 ingredients.Smooth and spreadable with a slight tang to it, this cream cheese needs only whole milk, lime or vinegar, and salt.
Ingredients
- 1 liter (4 cups)of full-fat milk(also known as whole milk)
- 2 tablespoons of lime(substitute with lemon or white vinegar, make sure the vinegar has a strong smell)
- Salt to use as needed(start with 1/2 a teaspoon, taste and adjust)
- Herbs, such as garlic are optional ingredients to flavor the cheese.
Instructions
Prep work to make the cheese
- Have the ingredients to make cream cheese ready.
- Have a dry, empty bottle ready to store the cheese.
- Line a sieve or colander with cheesecloth and set it over a bowl to catch the whey.
Heating the milk
- Pour the milk (1 litre) into a heavy-bottomed pan and heat the milk over low-medium heat.
- Frequently stir the milk and bring it to a high simmer(not to a rolling boil).
- Reduce heat to low and pour in the lime juice (2 tablespoons). Continue stirring.
Curdling and straining the milk curd
- As you continue to stir, the milk curd will gradually separate from the whey.
- Gently remove the heavy-bottomed pot from the stove and carefully pour into the cheesecloth-lined sieve to strain the curd from the whey.
Warning: the liquid and milk curd are hot; pour gently to avoid splashing. - Cover the curds with the cloth edges and rest for 5 minutes.
- Gather the cheesecloth, twist and gently squeeze out the excess whey.
- DO NOT THROW AWAY THE WHEY WATER.
- Remove the milk curd ball from the cheesecloth and place it in a large bowl.
- Crumble the curd with a spoon.
- Add salt; start with 1/2 teaspoon and add more as you need.
Blending and storing
- Transfer the crumbled curd into a food processor.
- Add 2 tablespoons of the whey water and pulse until the cheese is slightly smooth. At least a minute.
- Check the texture and taste of the cream cheese.
- Continue to work on the cream cheese texture and taste by adding whey and salt to reach the correct creamy consistency.
- Once the cream cheese is done, store it in a dry glass container.
I'd love to know how it turned out.
Leave a ⭐⭐⭐⭐⭐ rating and a comment; I read every one — it helps other visitors trust the recipe and helps them find me too.
Recommended Products
As an Amazon Associate and member of other affiliate programs, I earn from qualifying purchases.
-
 Secura 60-Minute Visual Timer, Classroom Countdown Clock, Silent Timer for Kids and Adults, Time Management Tool for Teaching (Black)
 -
 Kitchen Shears, iBayam Kitchen Scissors Heavy Duty Meat Scissors Poultry Shears, Dishwasher Safe Food Cooking Scissors All Purpose Stainless Steel Utility Scissors, 2-Pack (Black Red, Black Gray)
 -
 Hudson Essentials Stainless Steel Measuring Cups Set - 6 Piece Stackable Set with Spout
 -
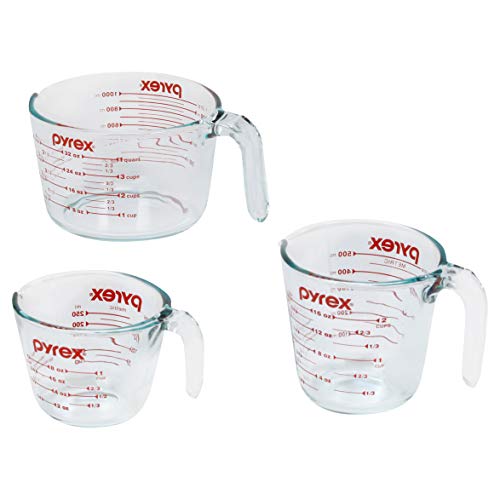 Pyrex Glass Measuring Cup Set (3-Piece, Microwave and Oven Safe),Clear
 -
 Spring Chef Magnetic Measuring Spoons Set, Dual Sided, Stainless Steel, Fits in Spice Jars, Black, Set of 8
 -
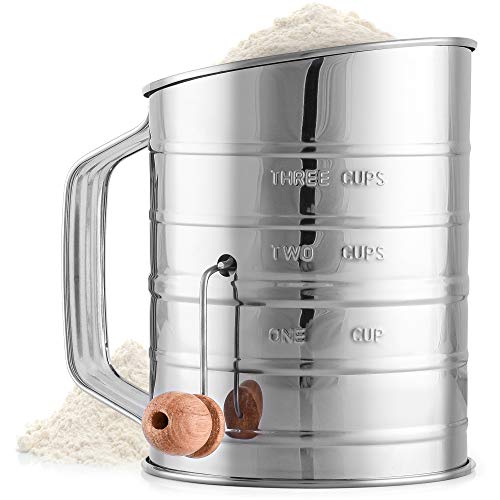 Zulay 3 Cup Stainless Steel Flour Sifter - Fine Mesh Rotary Hand Crank Flour Sifter with Agitator Wire Loop For Baking Cakes, Pastries, Pies, Cupcakes and Desserts
 -
 Pyrex Prepware 1-1/2-Quart Glass Mixing Bowl
 -
 KITCHENDAO Lemon Zester Bar Tool 4 in 1, Citrus Lime Zester Peeler, Channel Knife, Citrus Reamer, Grater, Seed Pip Catcher to Avoid Mess, Soft-Touch Grip, Compact for Easy Storage, Dishwasher Safe
Nutrition Information:
Yield: 5 Serving Size: 1Amount Per Serving: Calories: 27Total Fat: 1gSaturated Fat: 1gUnsaturated Fat: 0gCholesterol: 4mgSodium: 26mgCarbohydrates: 3gFiber: 0gSugar: 0gProtein: 2g
Nutrition facts are an estimate and not guaranteed to be accurate. Please see a registered dietitian for special diet advice.
ABOUT THE AUTHOR
JEHAN
Recipe creator. Food Blogger. Video creator
I’ve been cooking and sharing Sri Lankan recipes, along with other dishes I love making at home on Island Smile since 2015. I’ve tested every recipe on this site more than once in my own kitchen before it goes on the blog.
I grew up eating this food, and I still cook it the way my family taught me, just written down clearly enough for you to follow.
If a recipe doesn’t work the way I say it will, tell me in the comments; I read every one, and I’ll help you fix it.